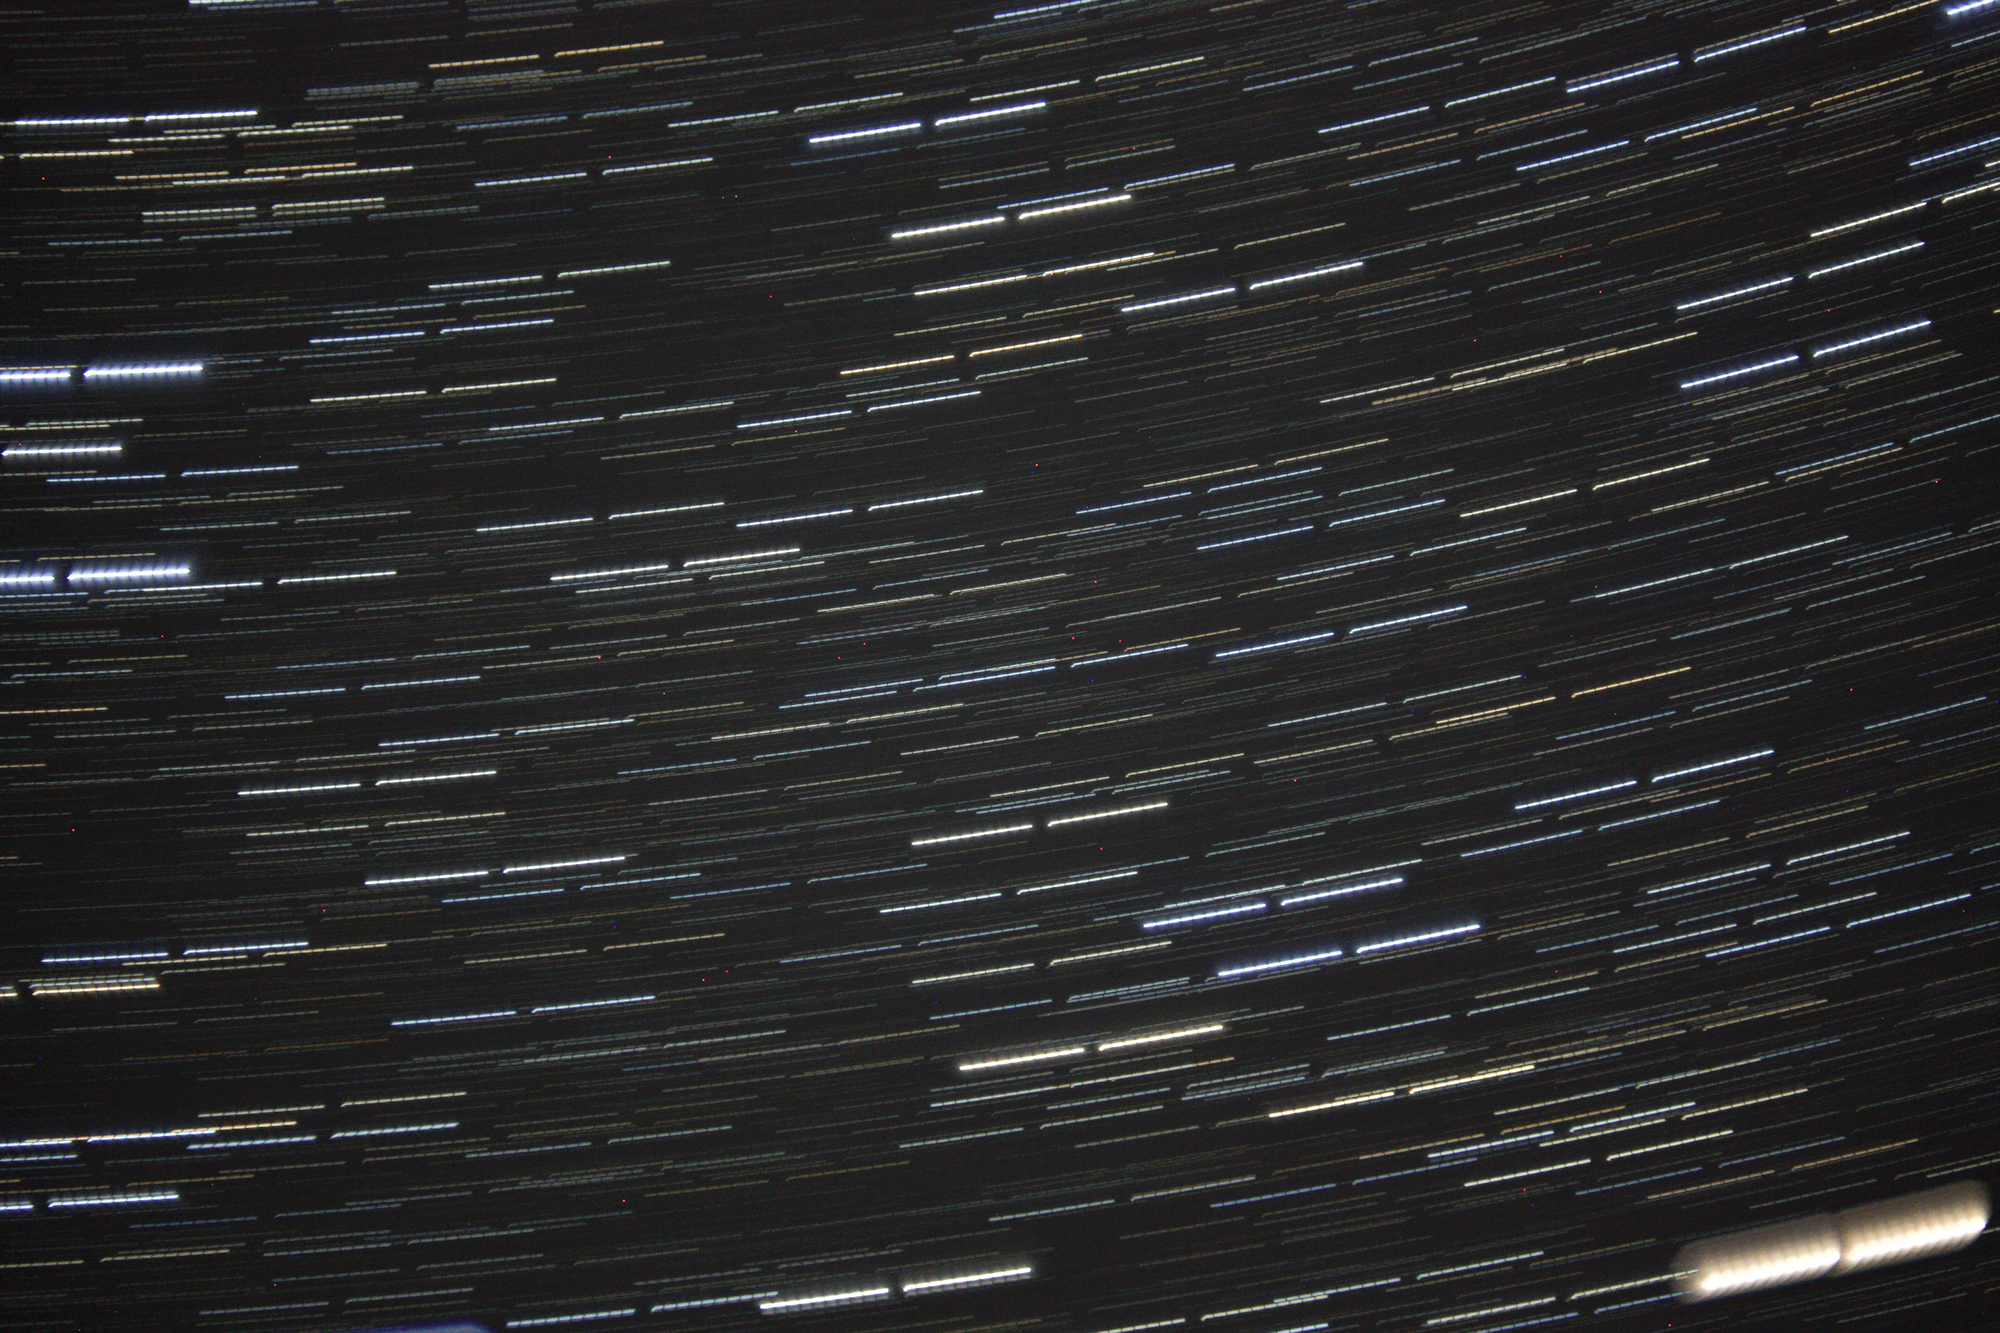
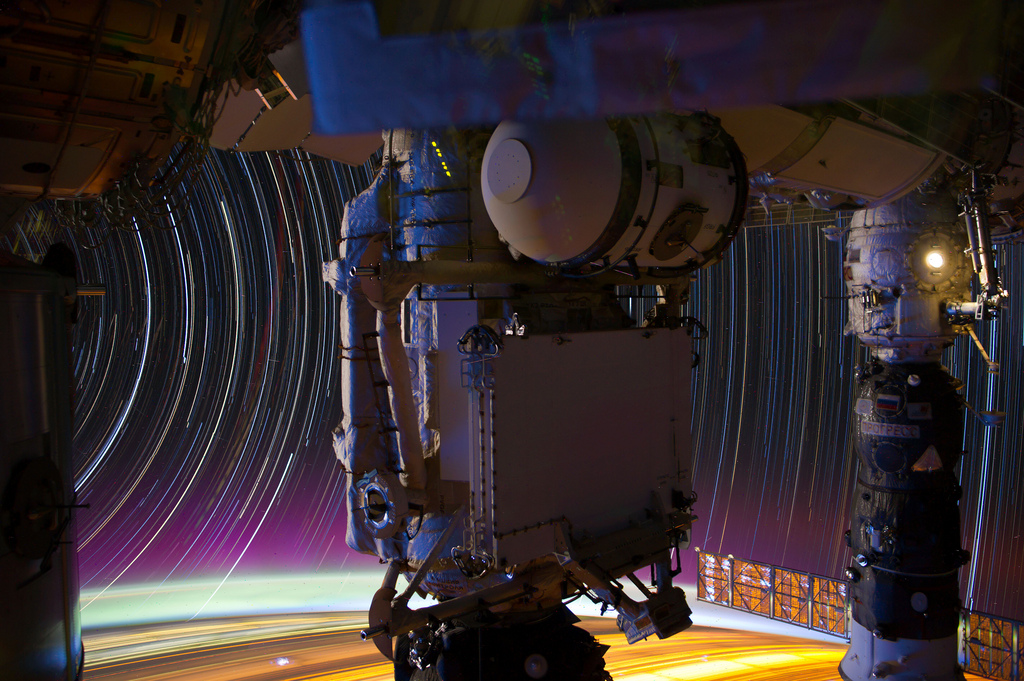
Took a few minutes last night and captured this composite star trails image. I didn’t have a tripod with me, so I just sat my camera on the ground facing straight up. I’ve never tried these kinds of images before. It turned out pretty good, for a first attempt. I just have to remember to hit the shutter release next time between exposures.
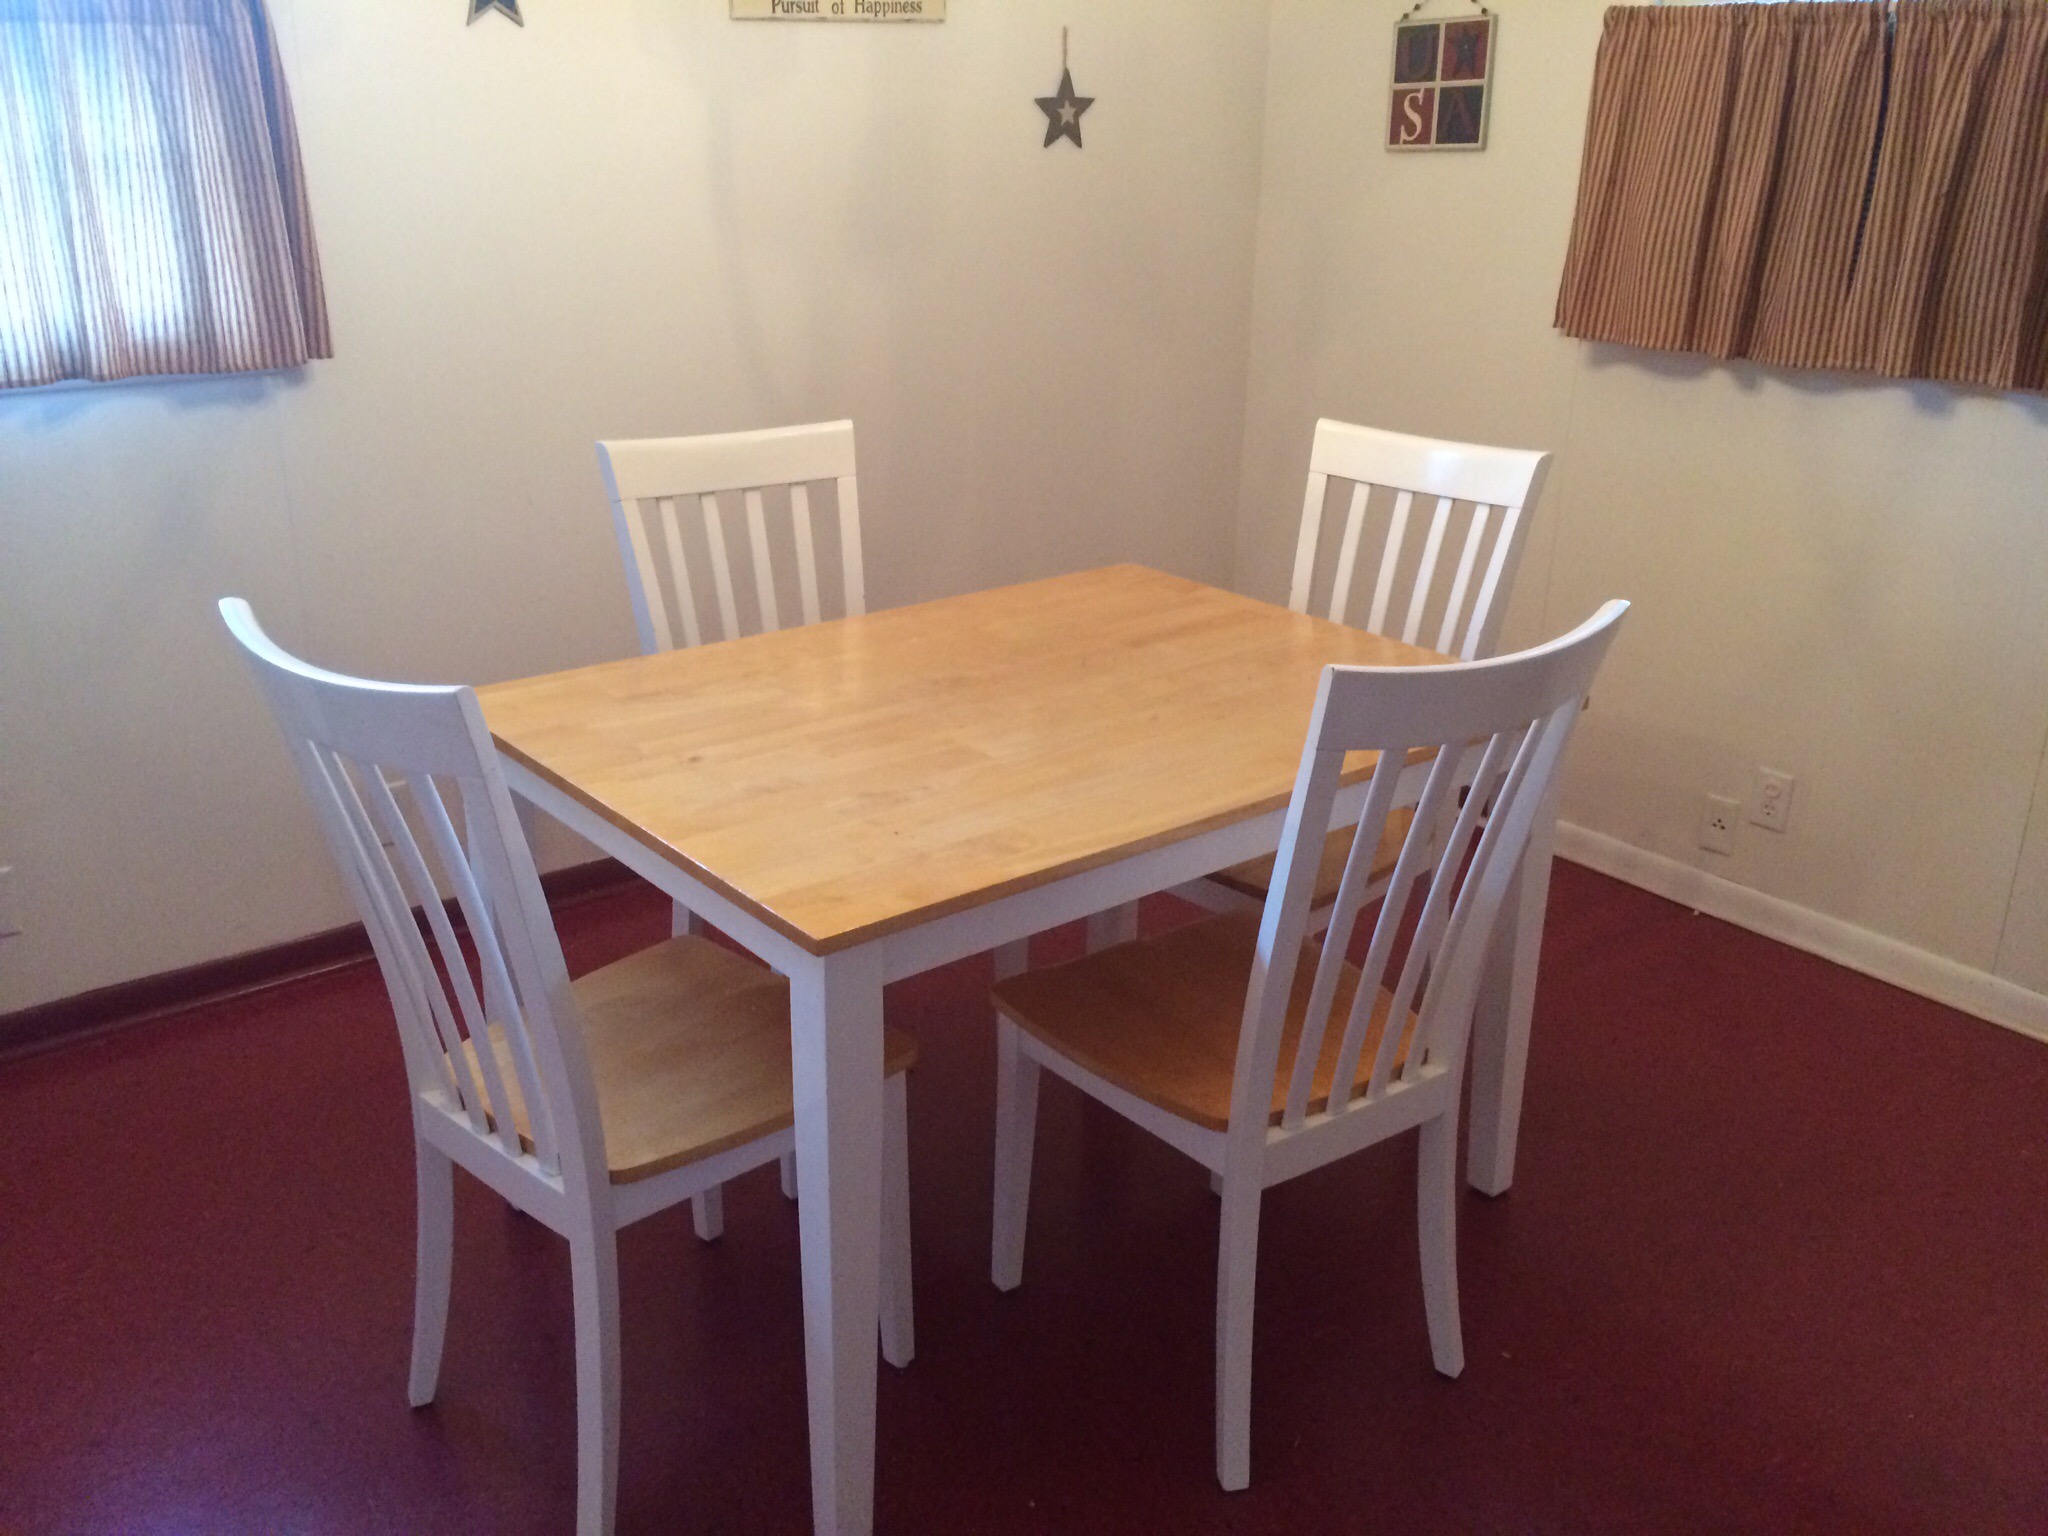
We’ve had this little table since we first moved in back in 2007. It served us well when it was just me, Kayce, and Parker. Not so much anymore. After much searching online and in local stores, we couldn’t find a larger replacement that fit the casual look we wanted for a kitchen table.
Original Table (3×4′)
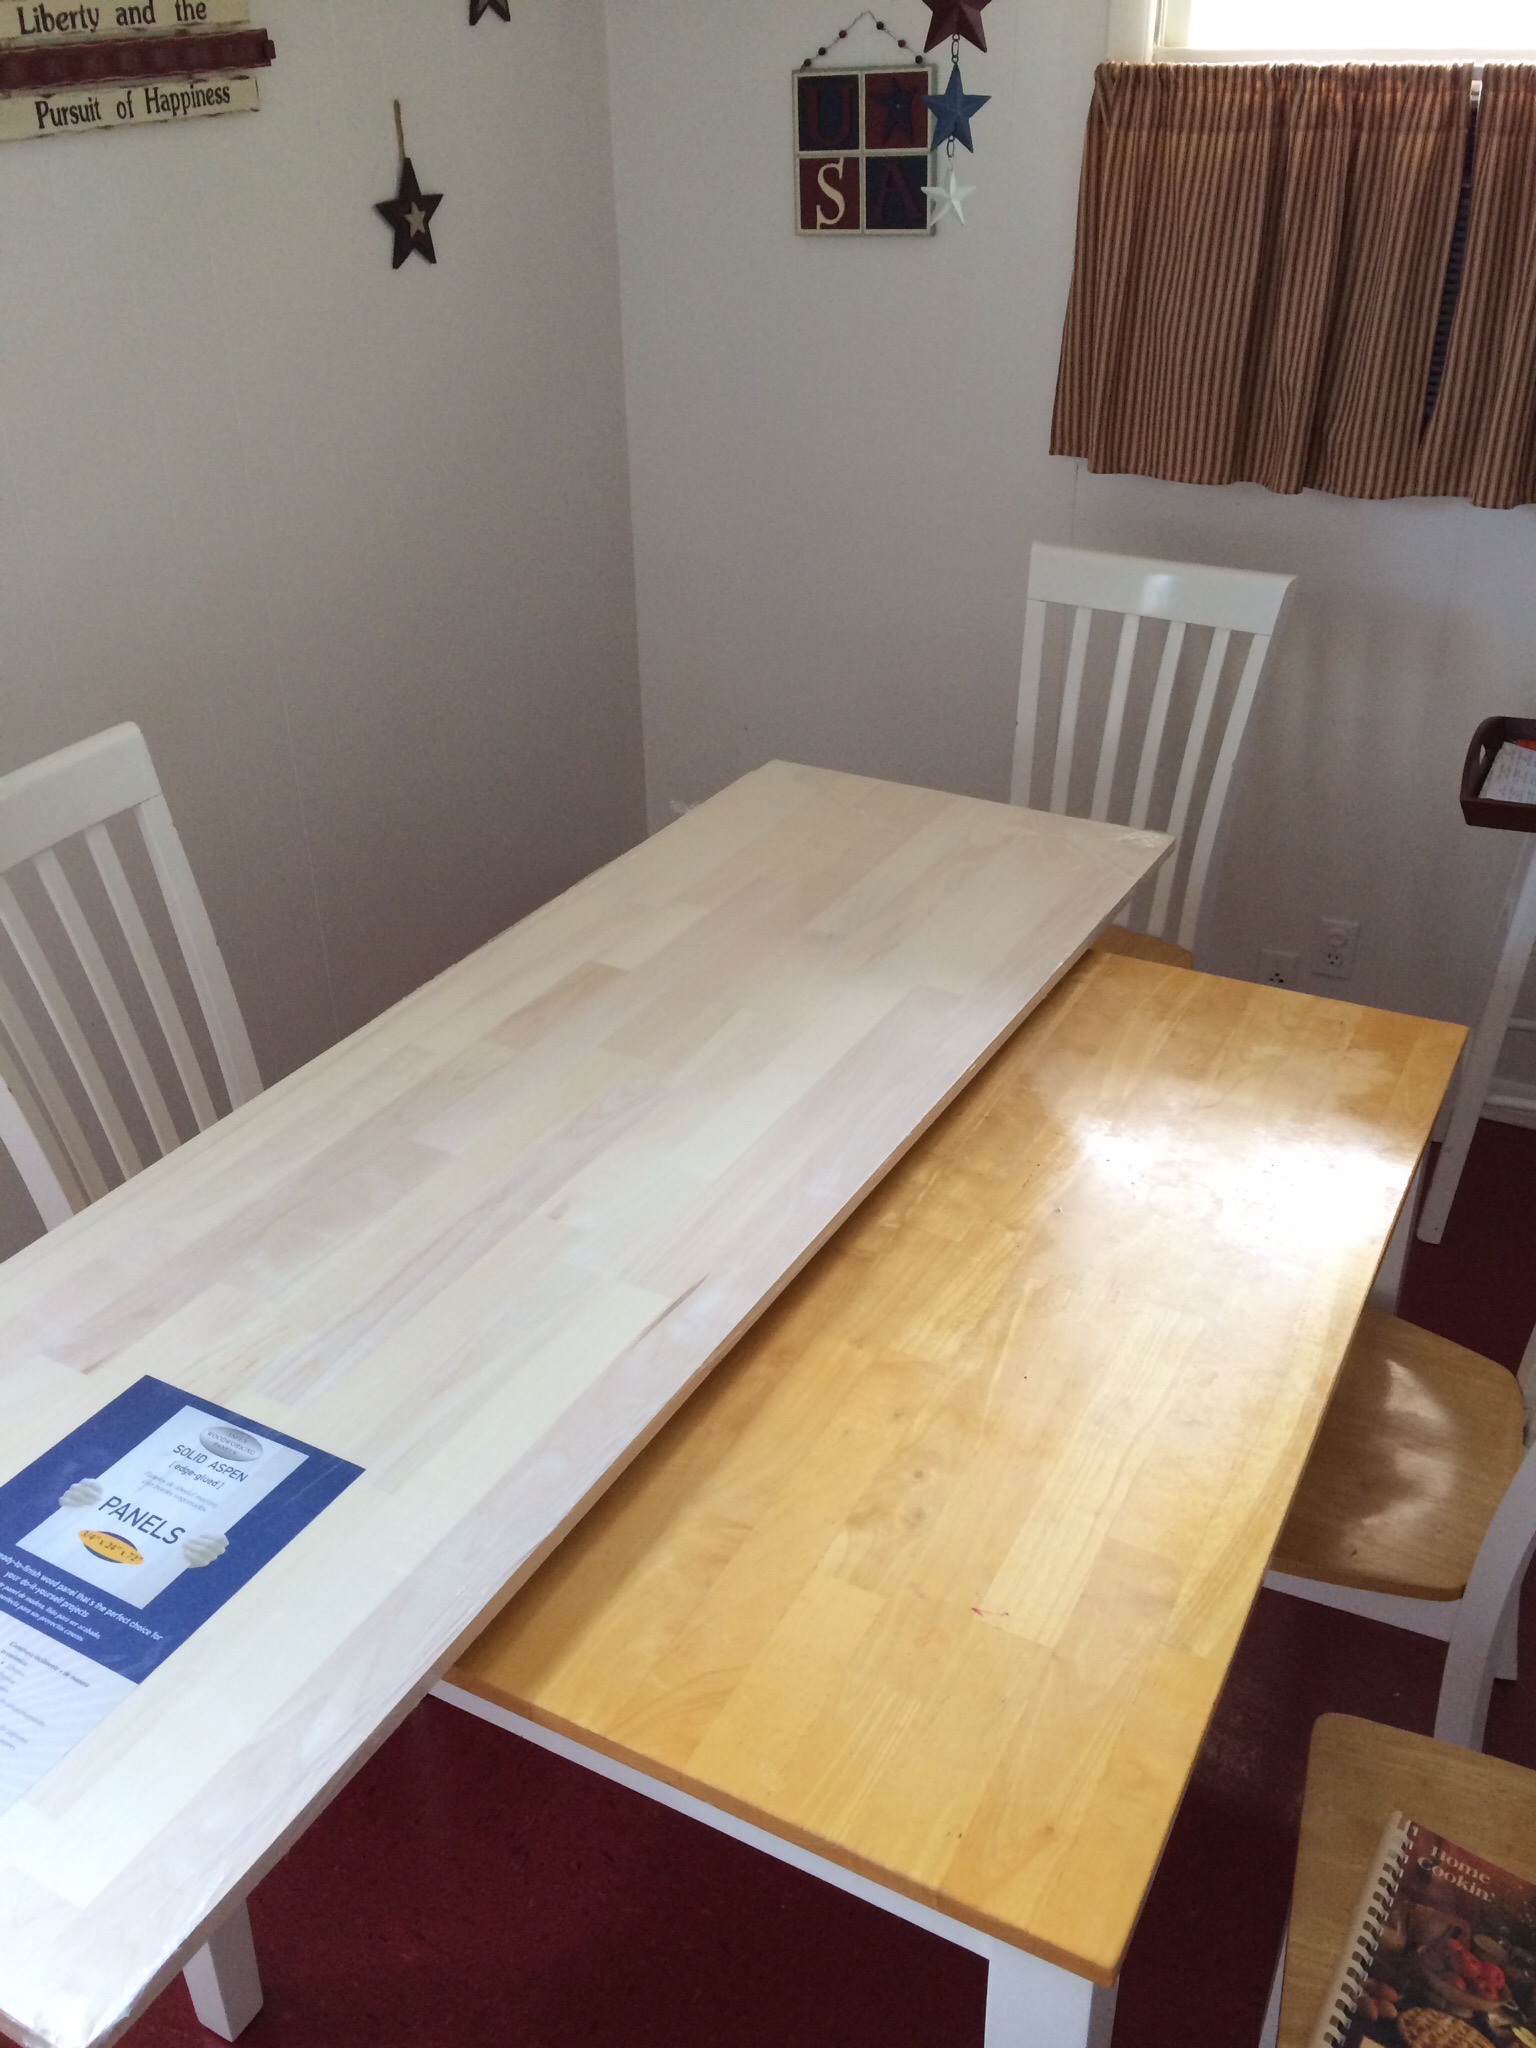
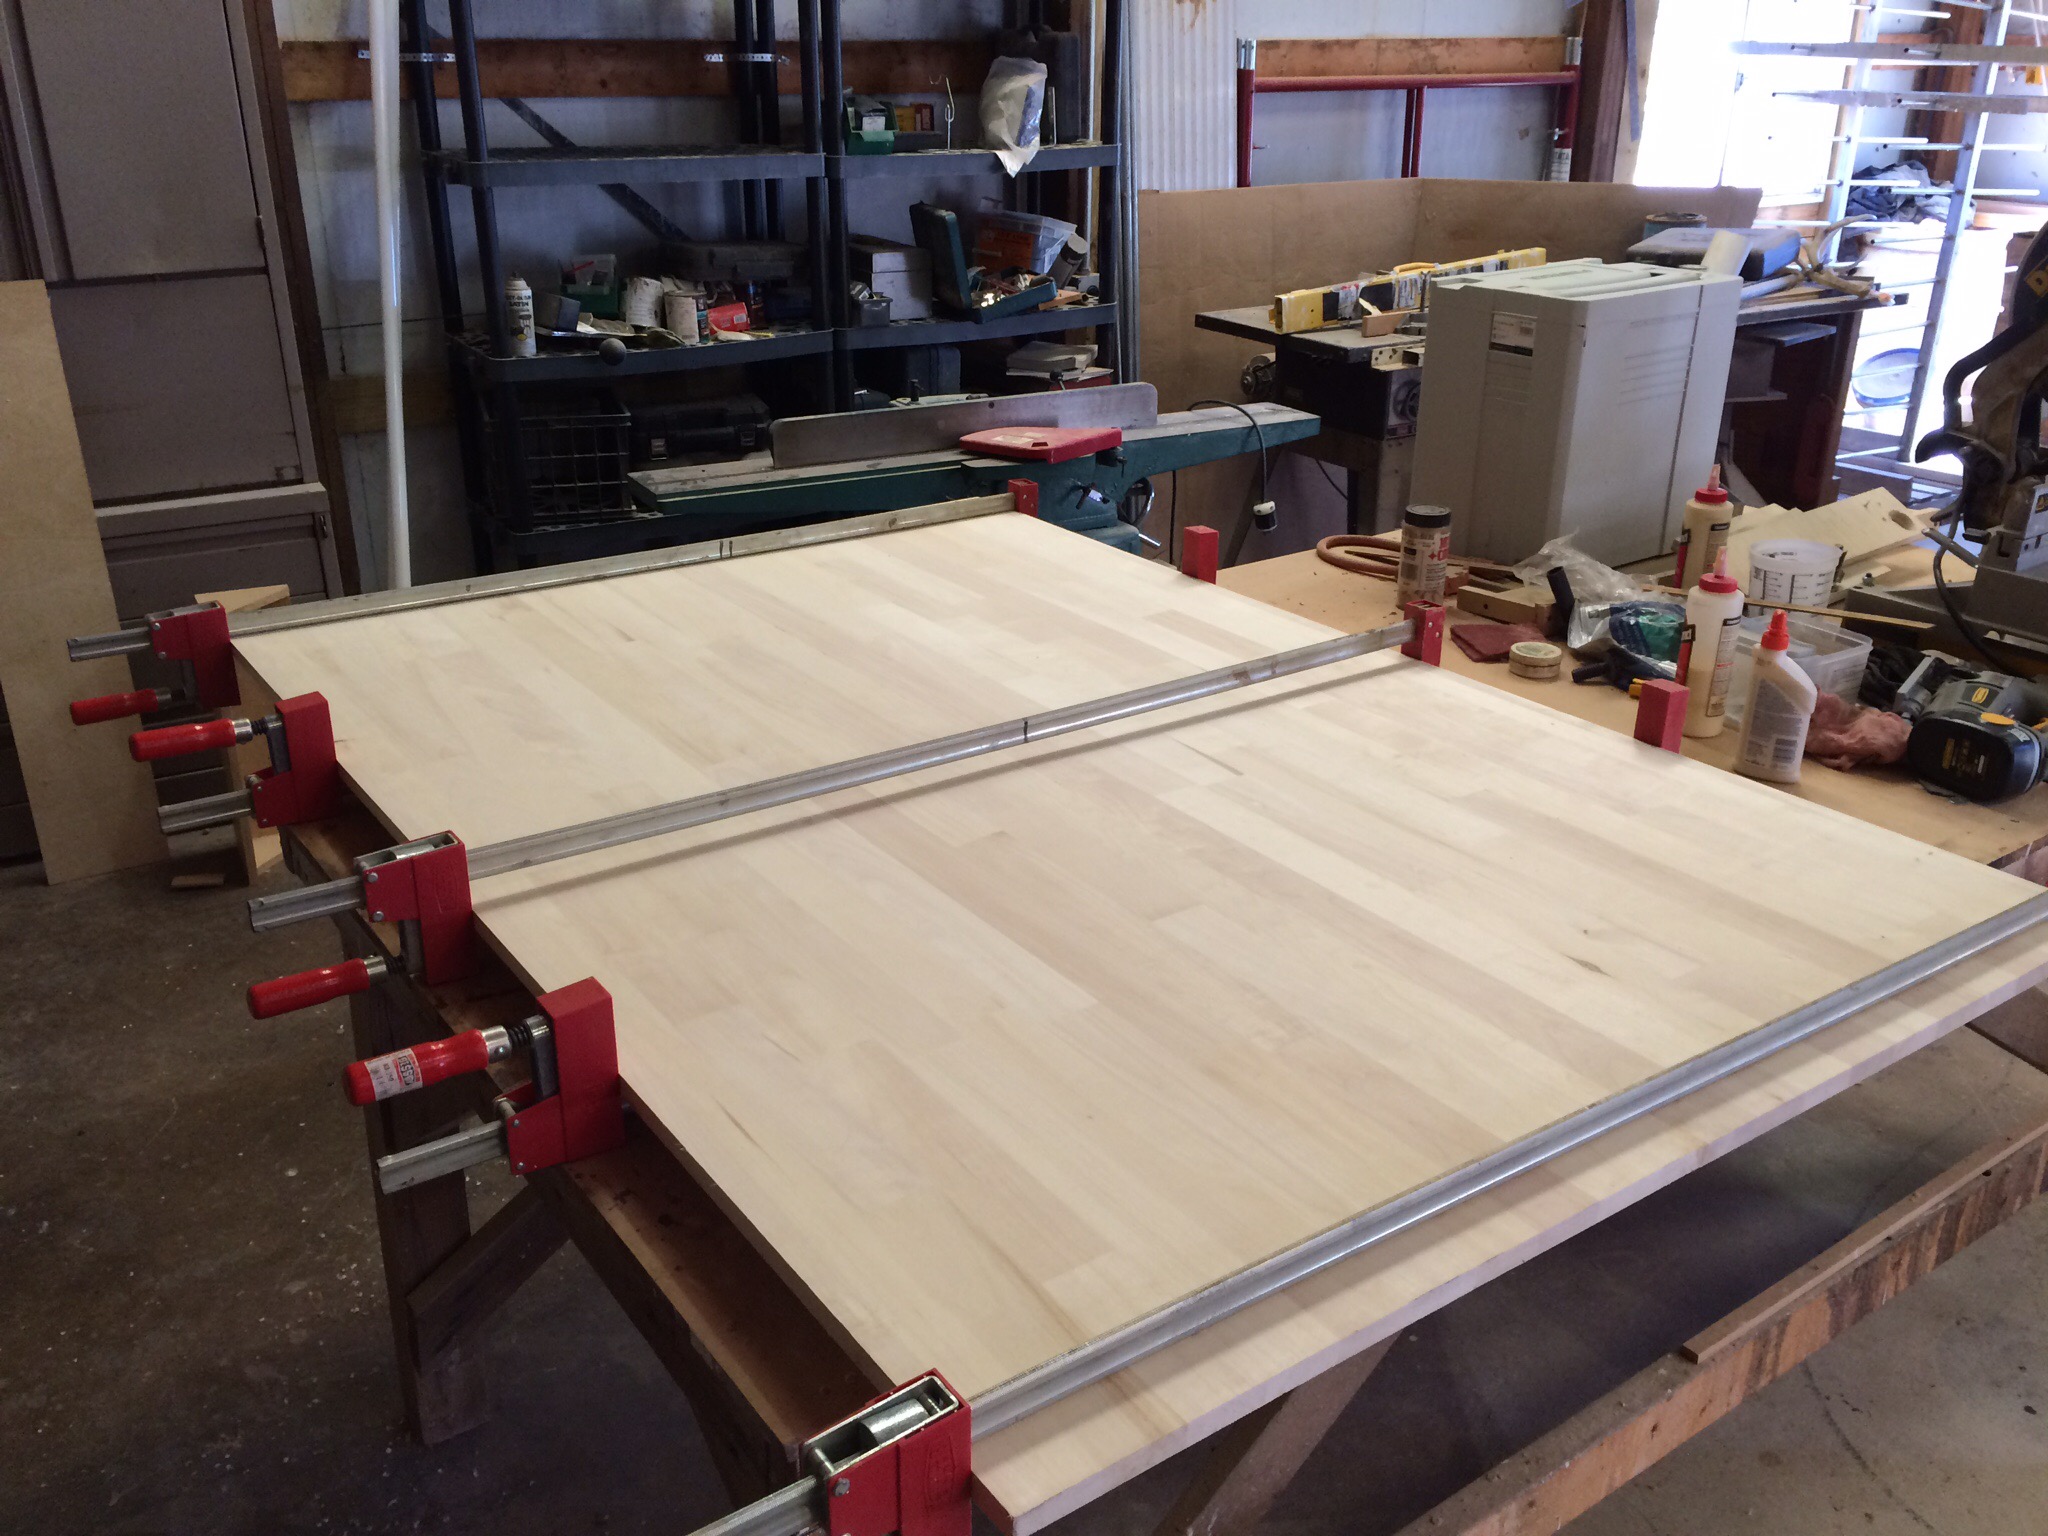
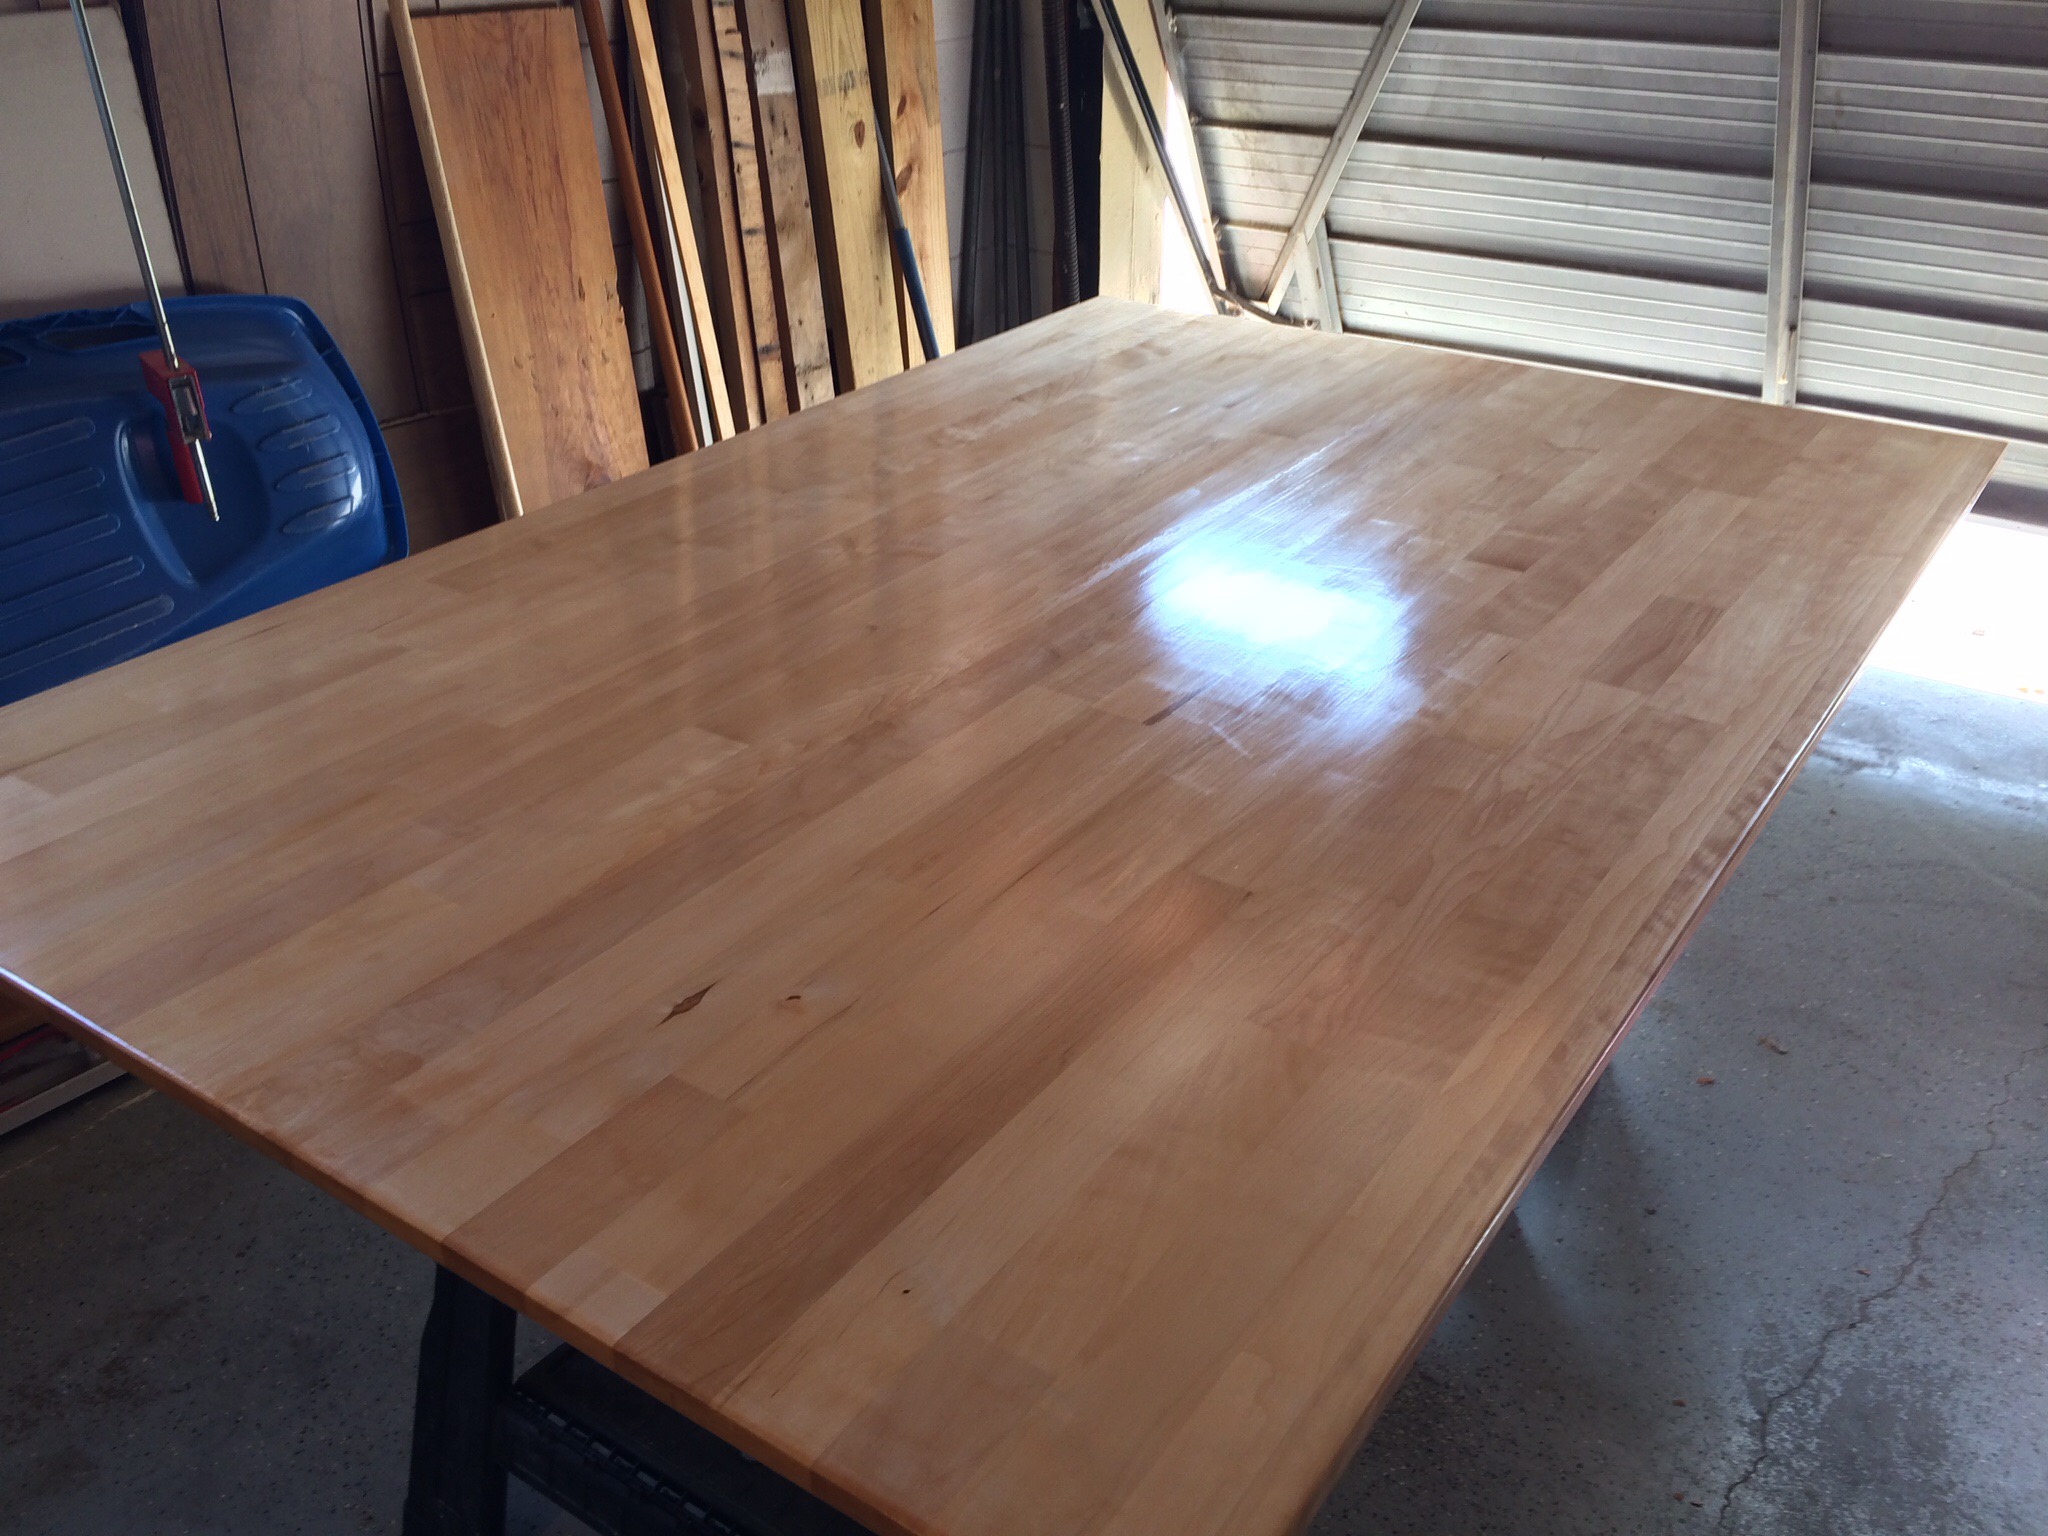
Since we like this table so much, I said to Kayce, “let’s just make this table bigger”. So I did. A nice glue up of some very clear aspen panels and several coats polyurethane later. We had a table top. I cut the longer apron pieces and reused the legs and hardware. I only had to add a center support to the frame.
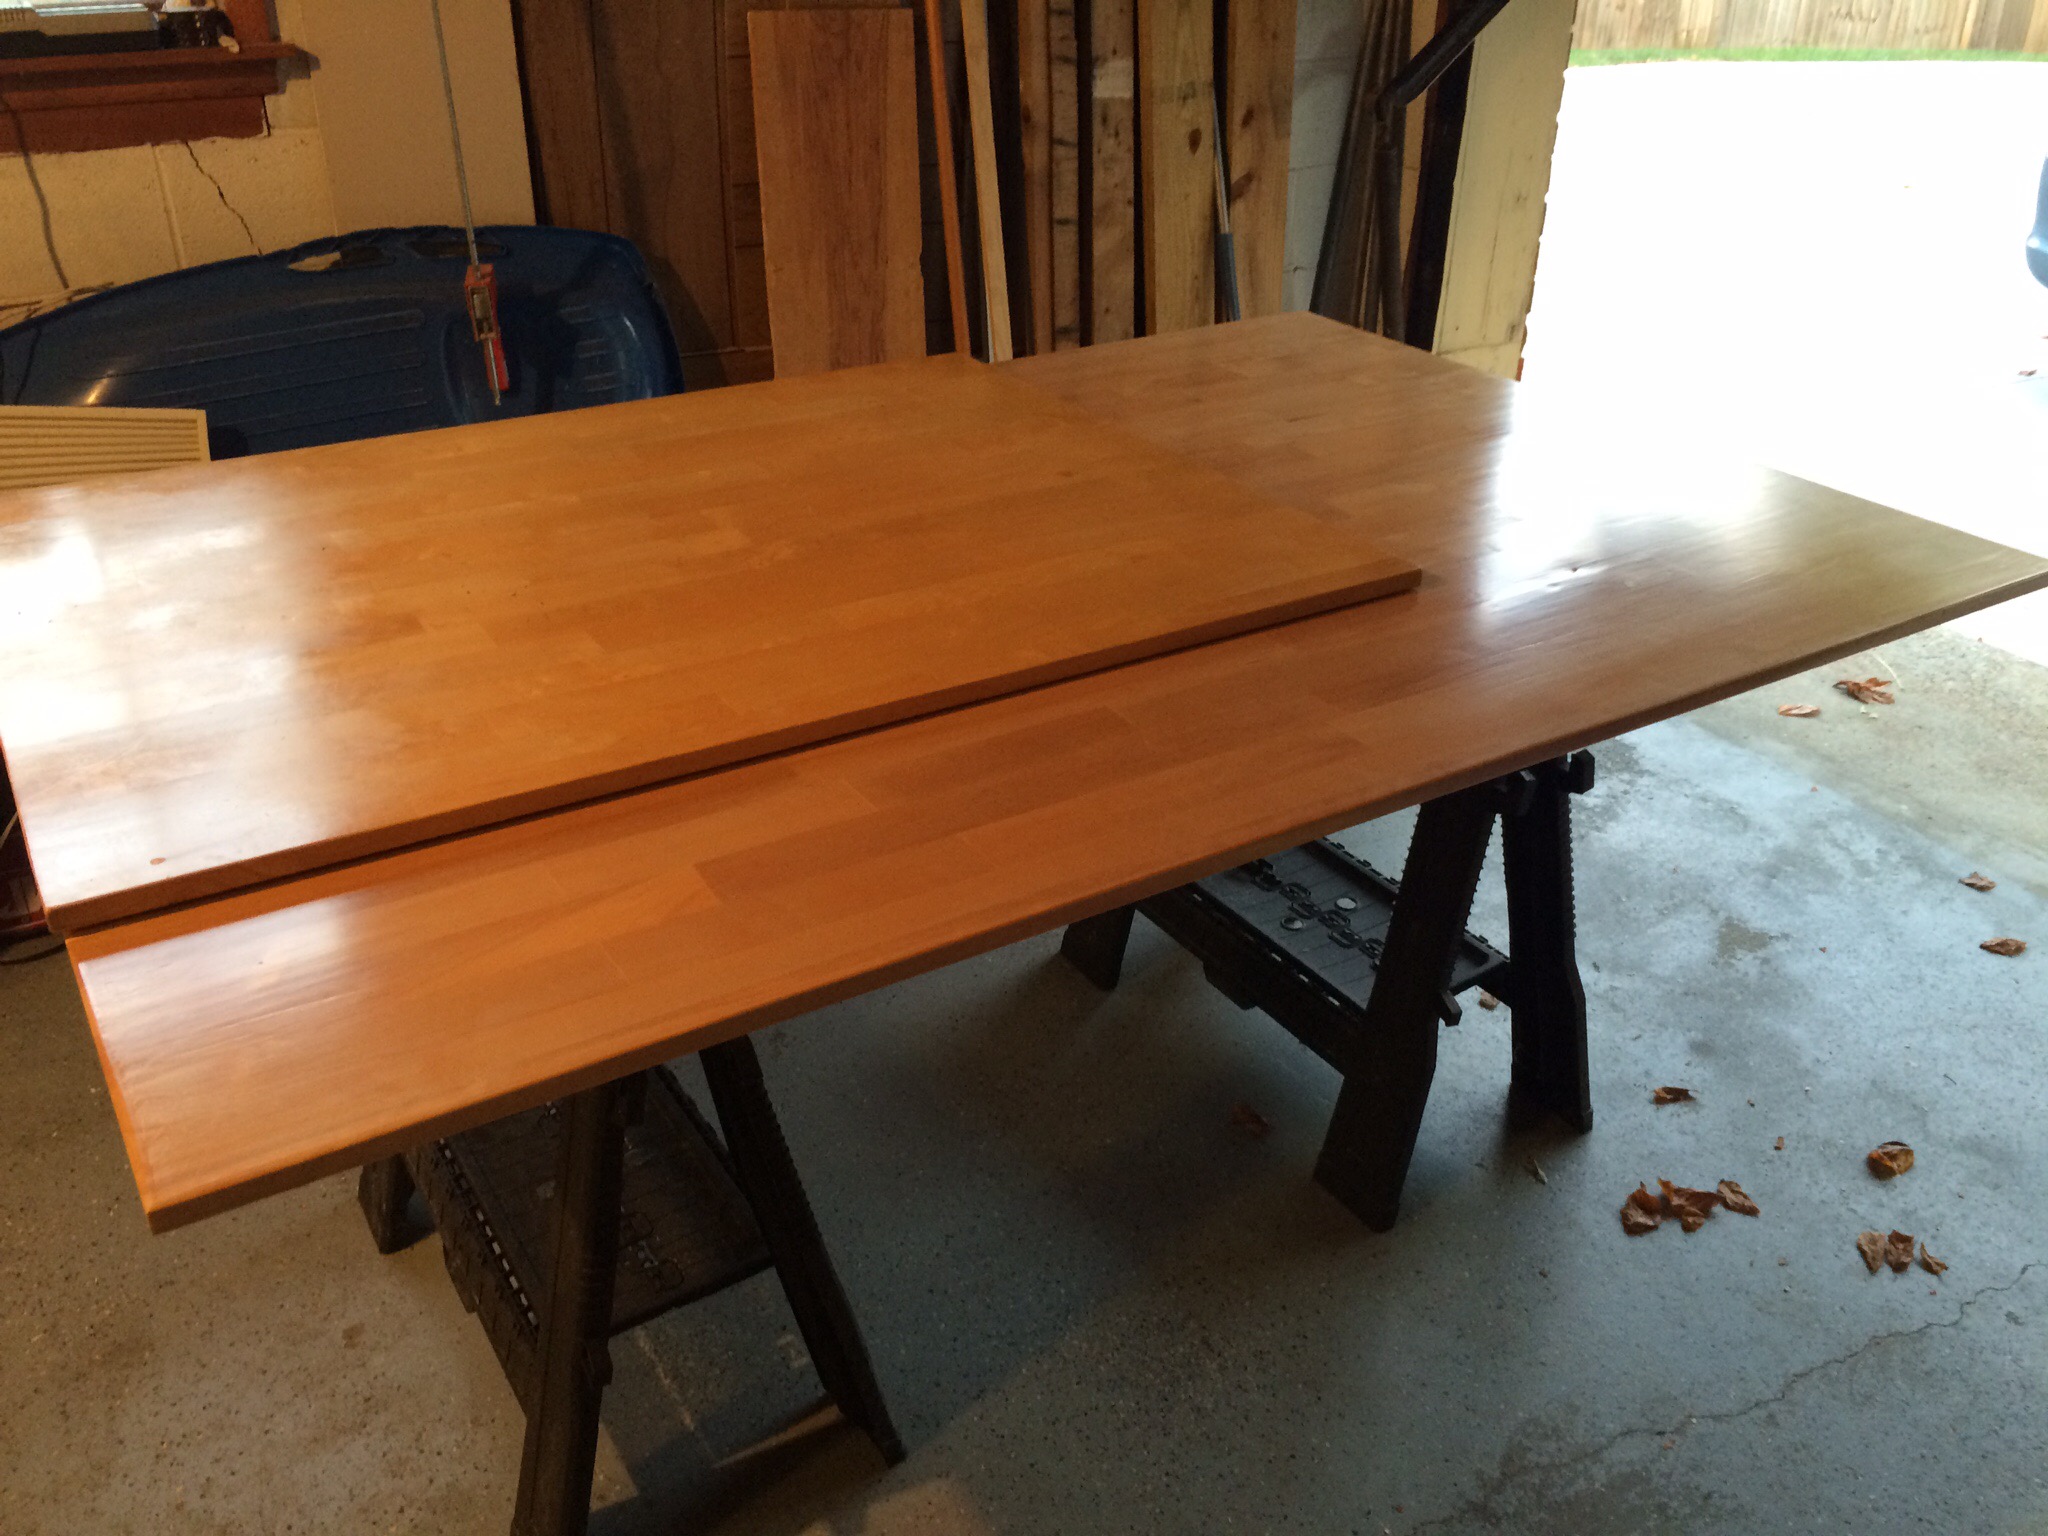
Aspen PanelsGlue up at Joe’s Shop (Thanks Joe)Finished TopOld Top Compared to NewFinished Table (4×6′)
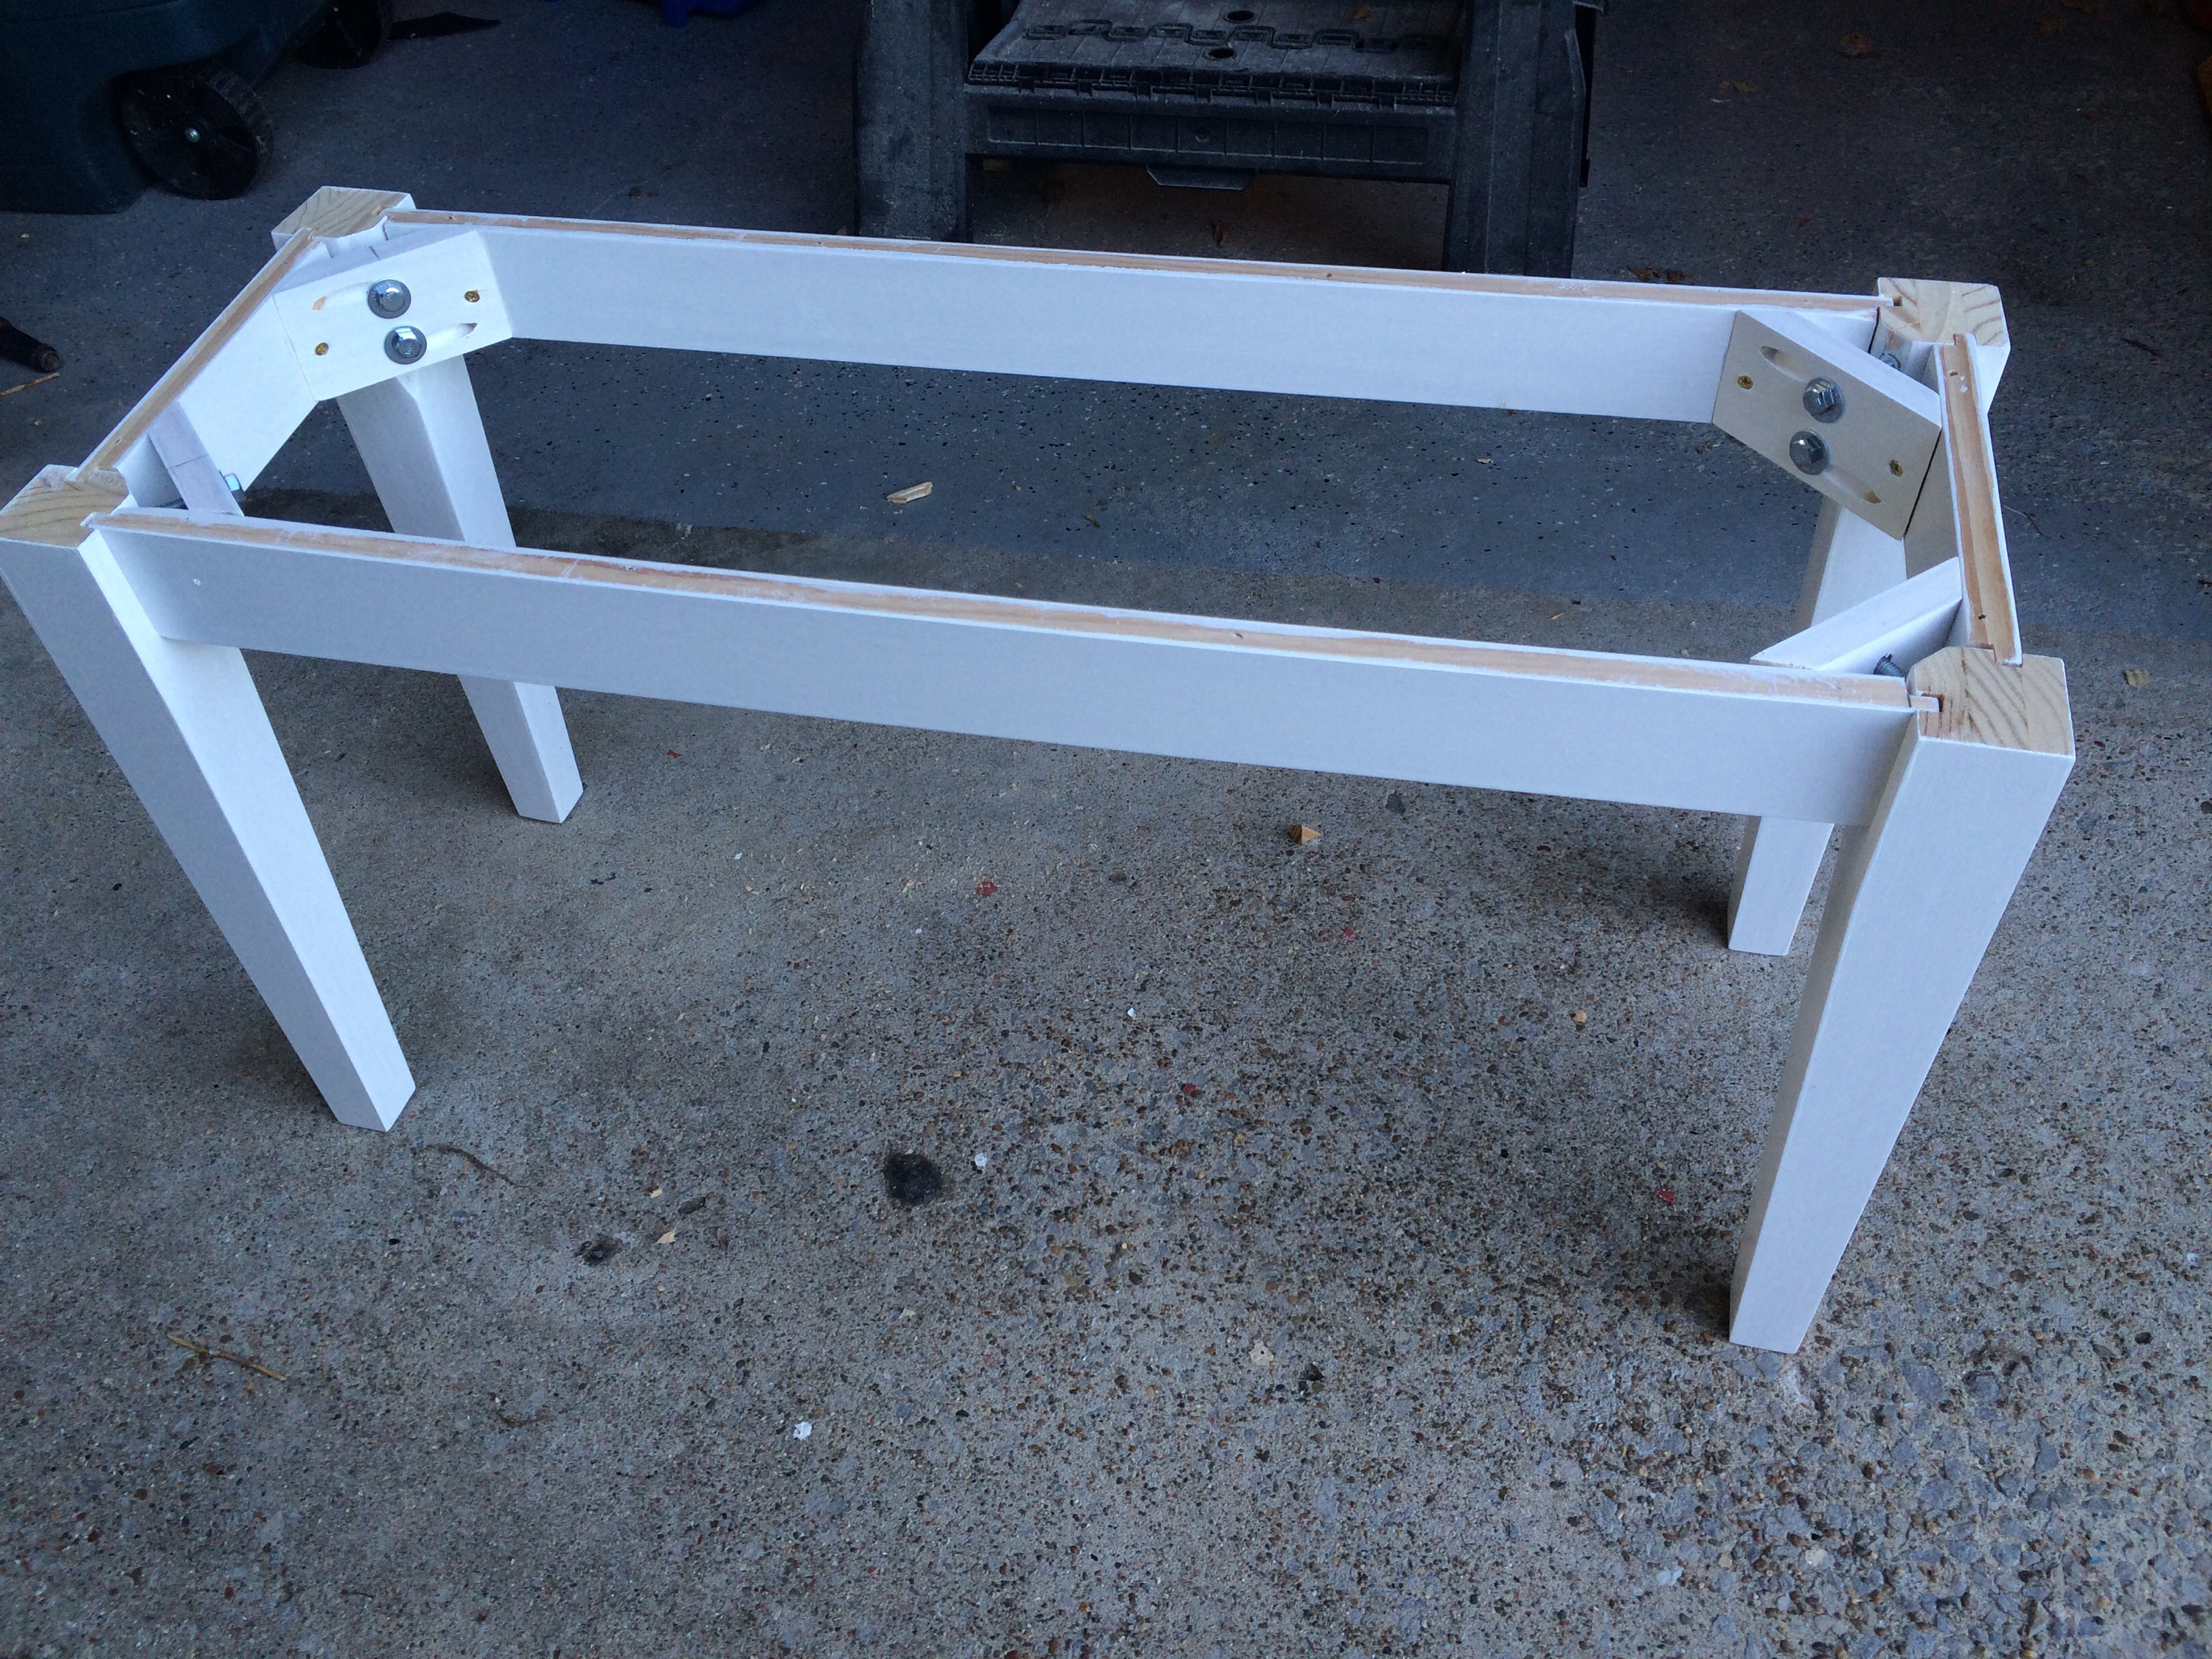
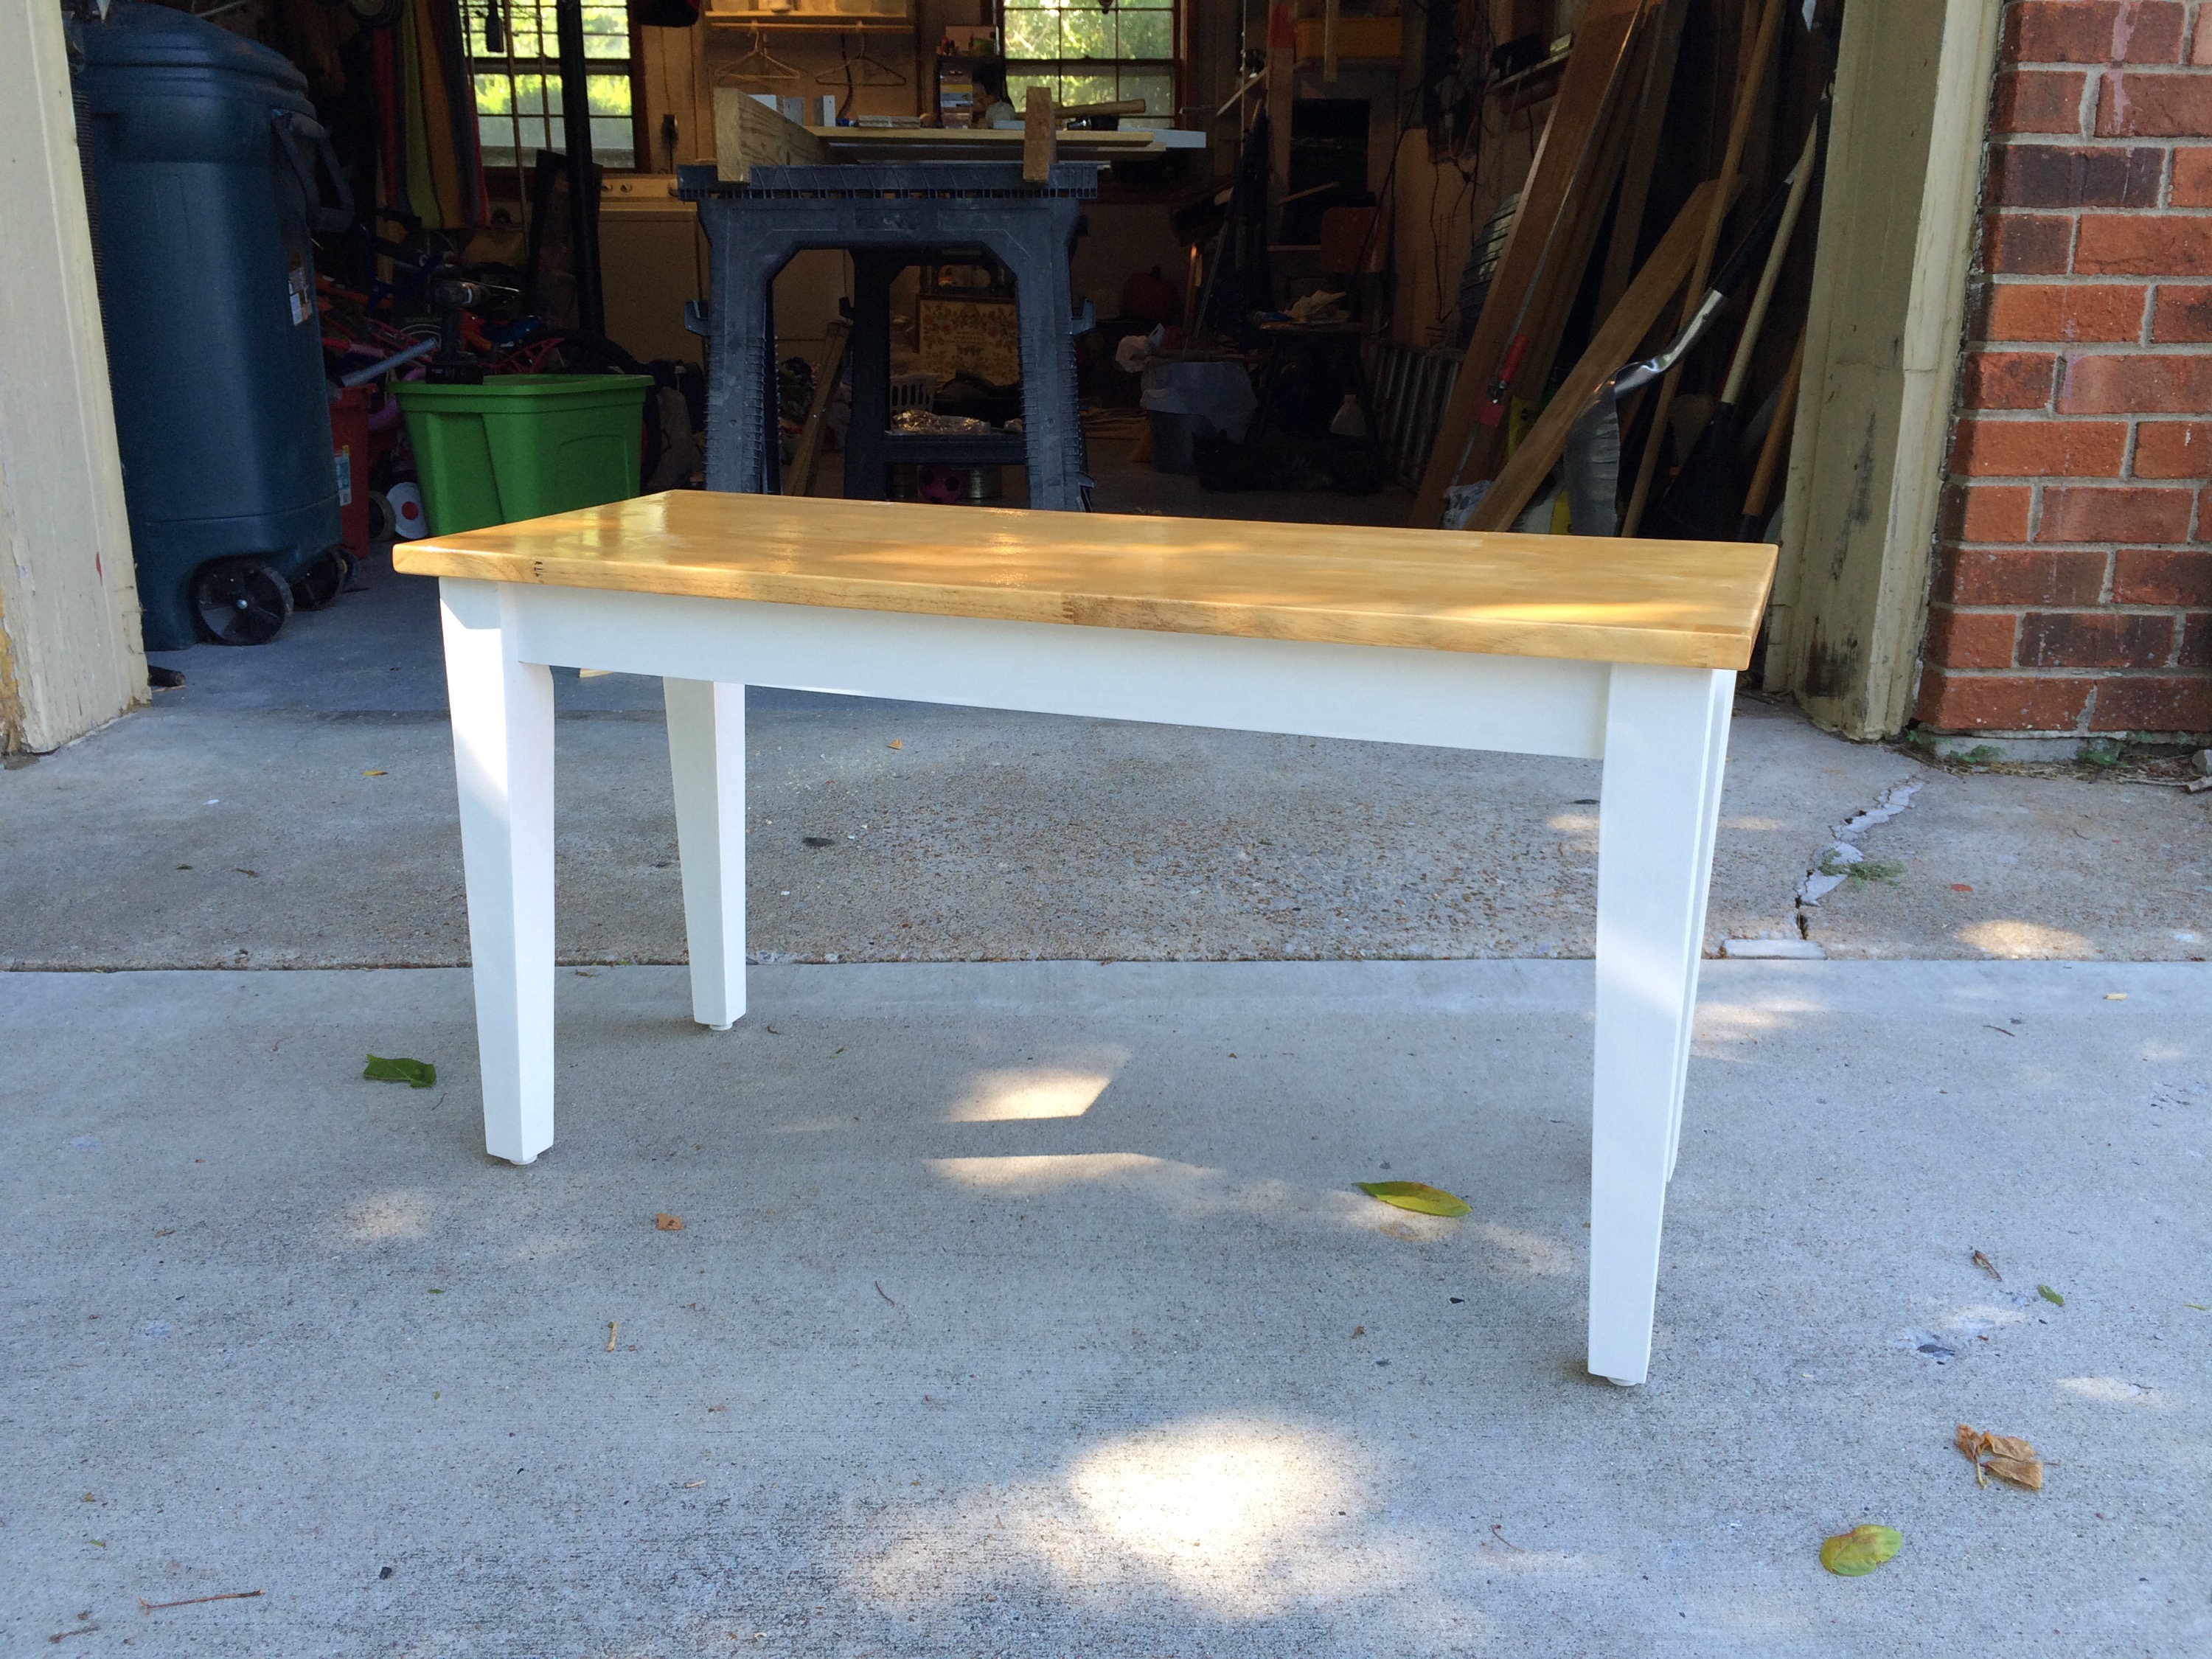
Now, we had a new problem… No chairs for the ends. Again, we searched and searched and couldn’t find any chair that would match sufficiently. We also looked for benches, but found that they either didn’t match or were overpriced. So, again, I looked at the old table top, and decided just to make my own benches. With some parson style legs from Lowes and few pieces of 1×3 I had everything I needed.
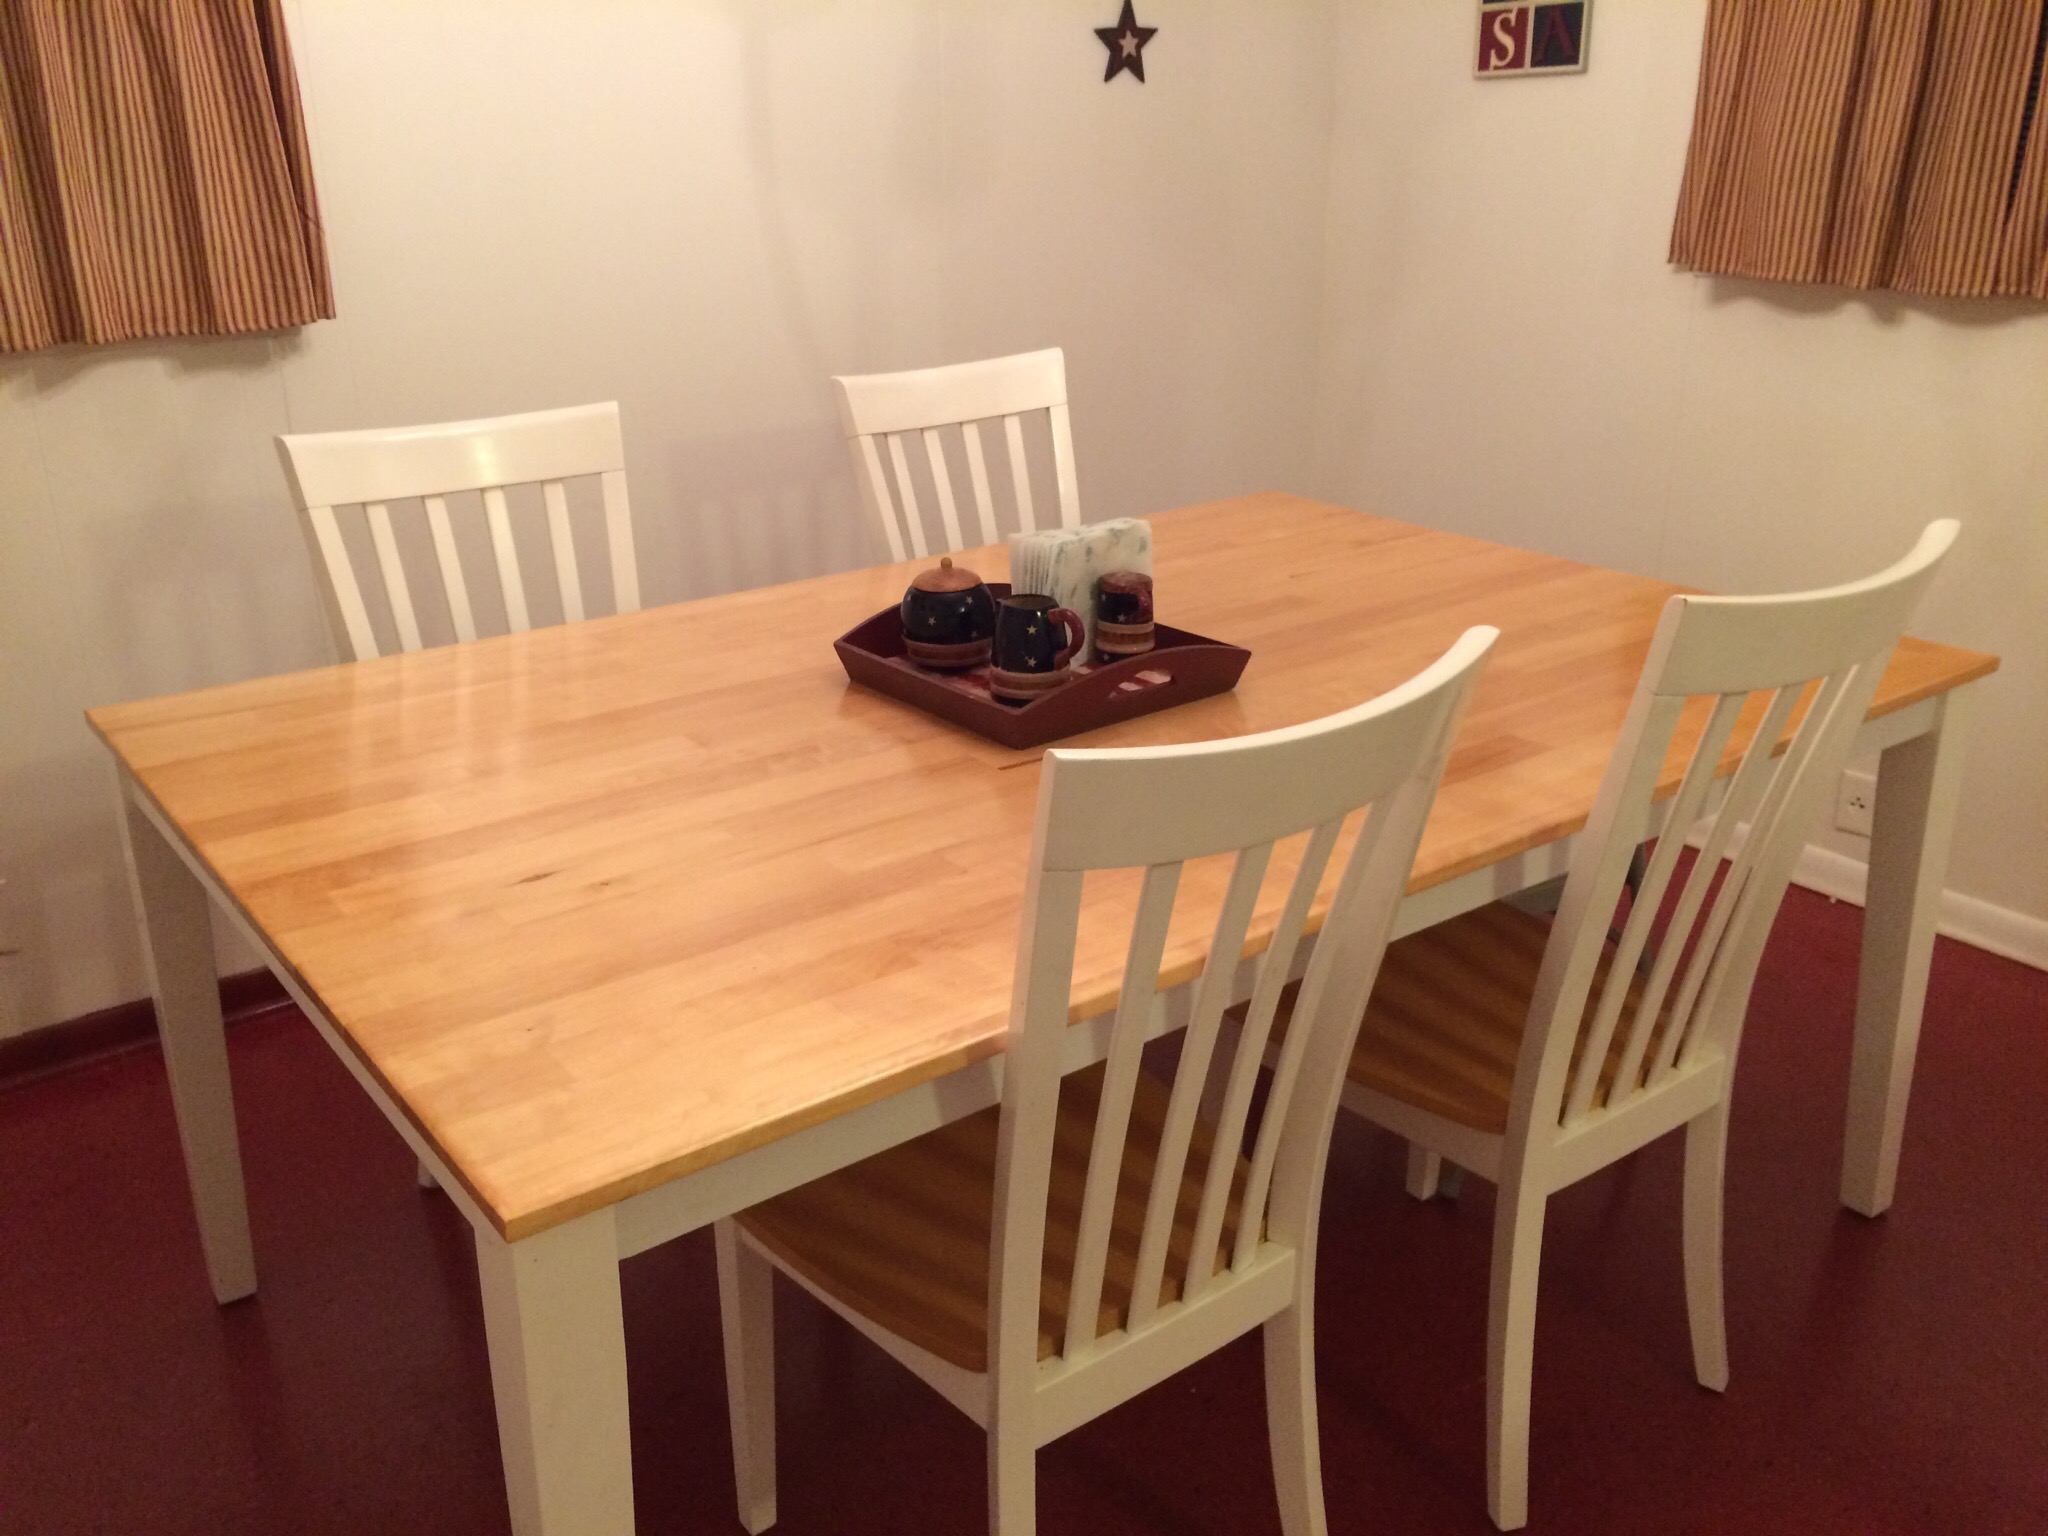
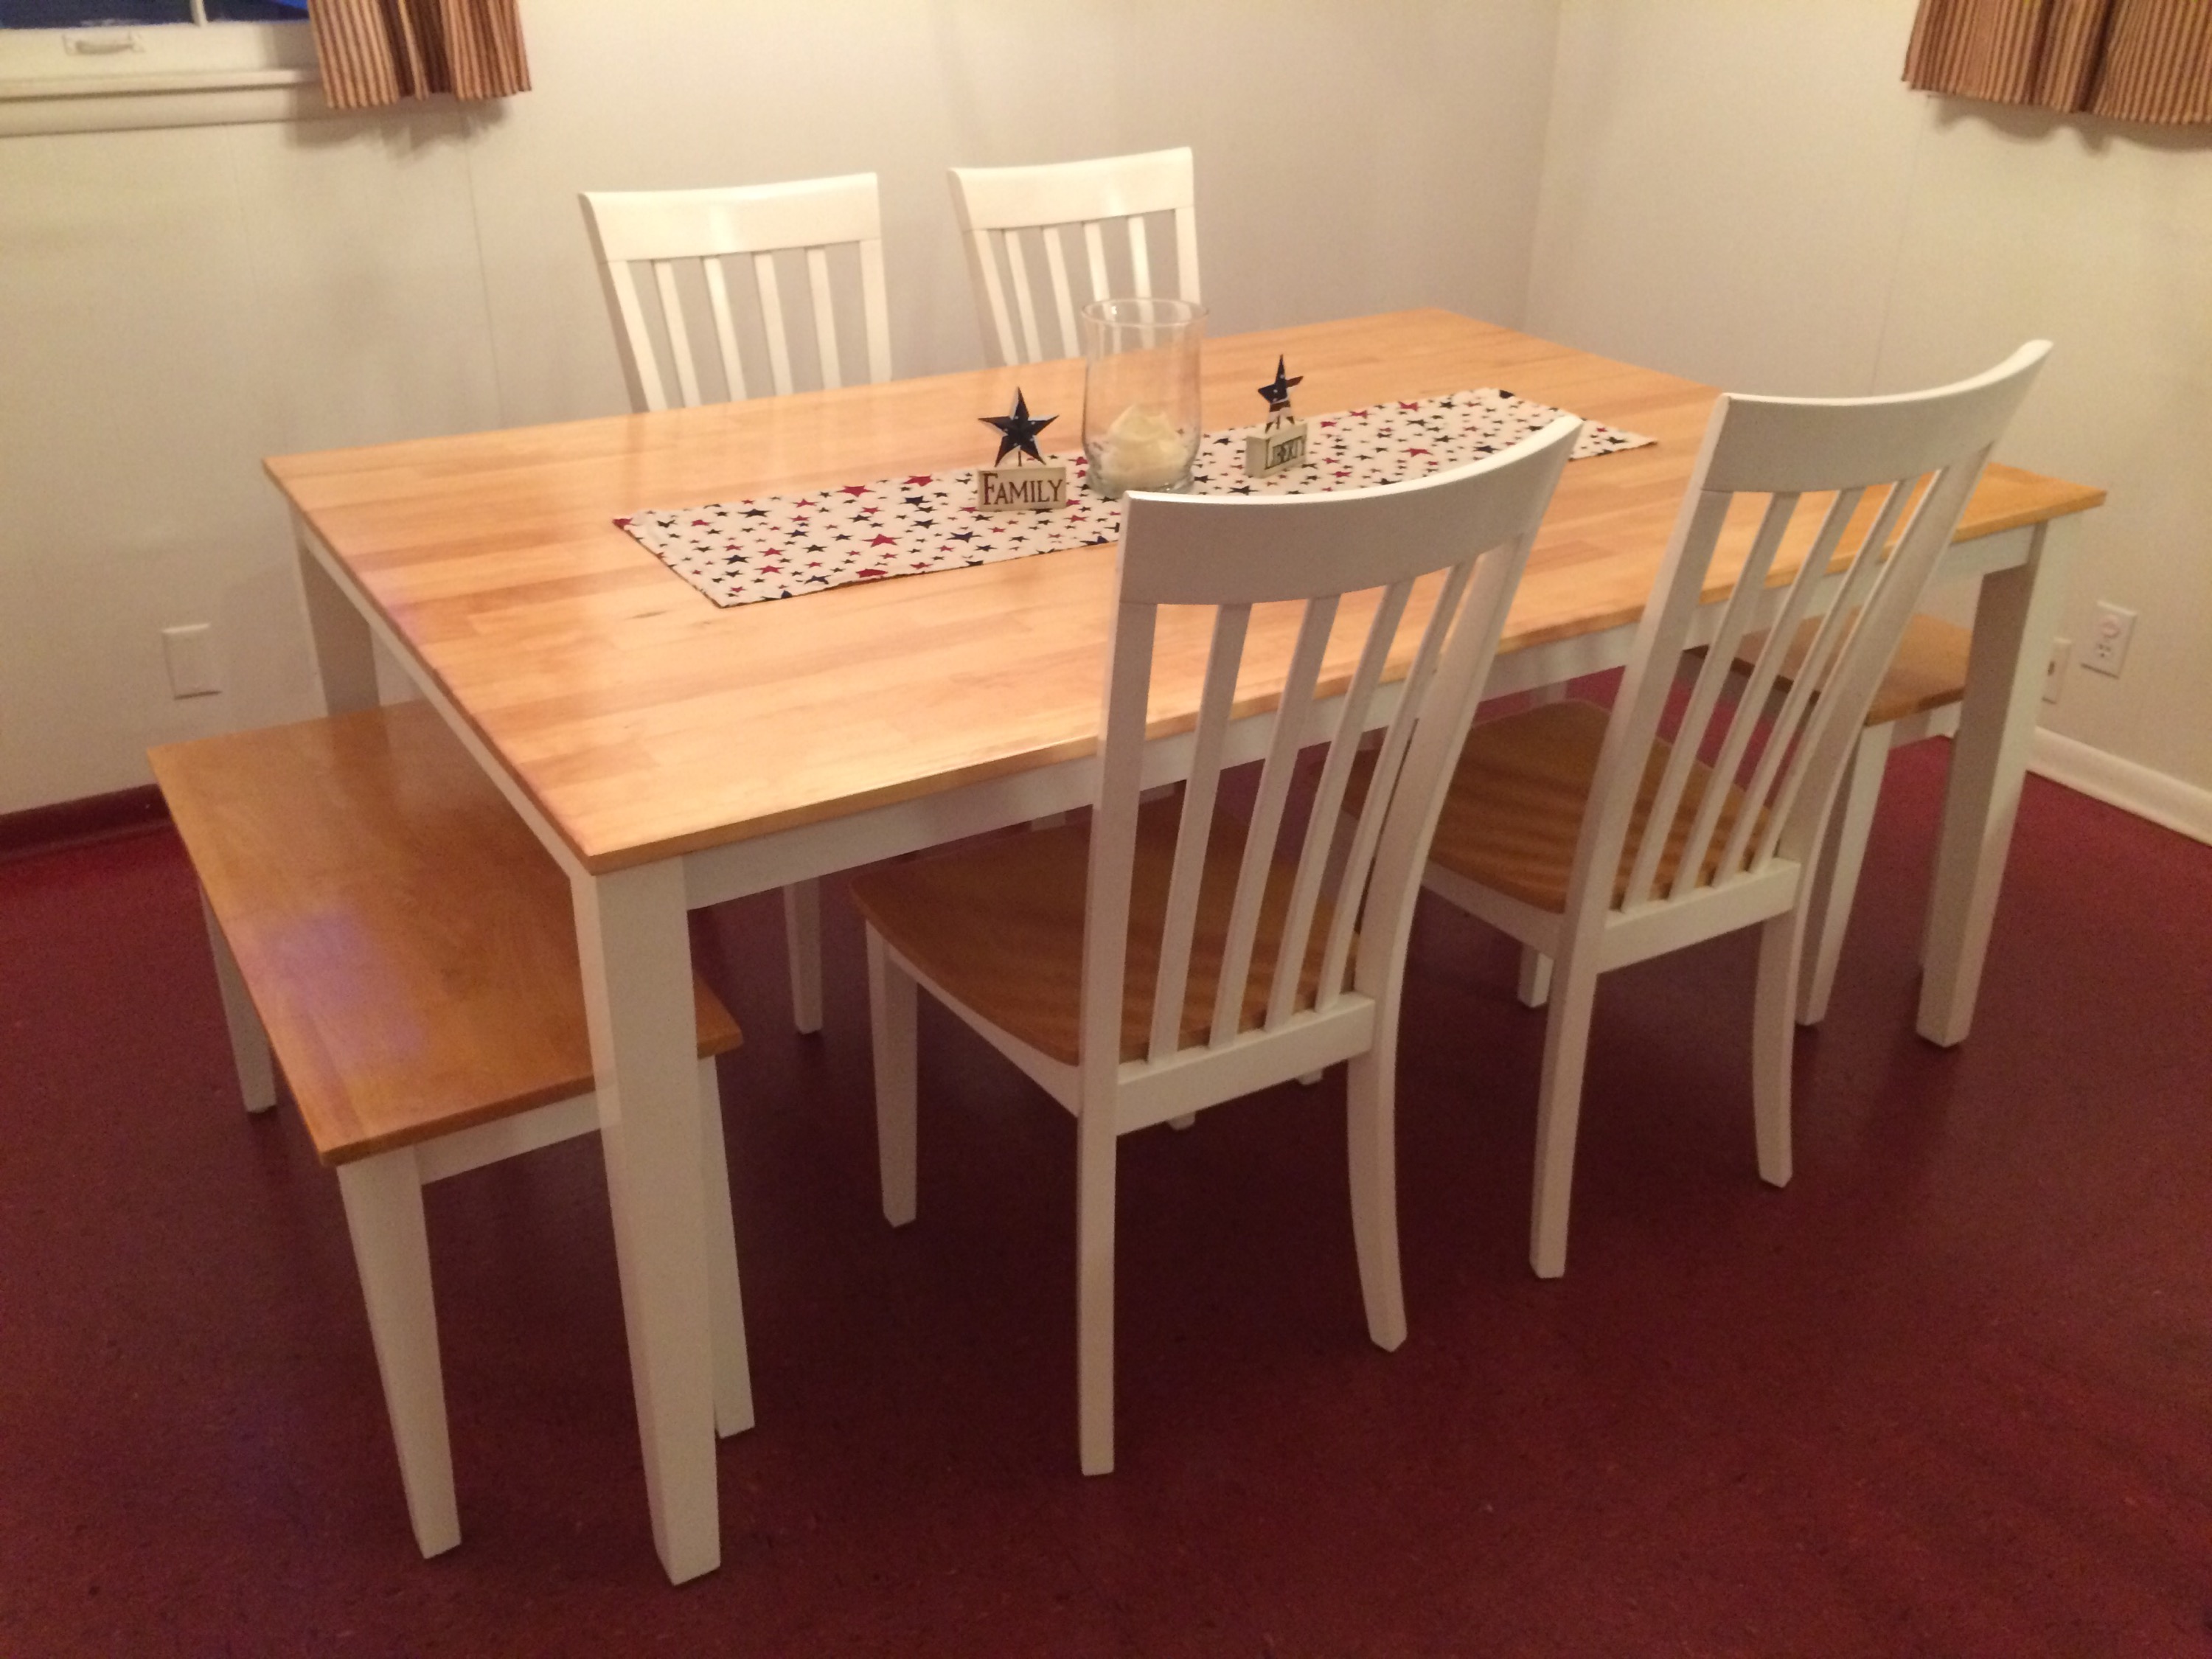
Dry FitMany Coats of PaintFinished BaseCompleted BenchOur “New” Kitchen Table
So, with mostly hand tools and for less than $400 we went from a 3×4′ table that seats 4 to a 4×6′ table that seats 8. And it’s solid wood, so it has many, many years of use a head of it. Hope you enjoyed this this photo diary of my project and hopefully, it will encourage you to tackle a project of your own.
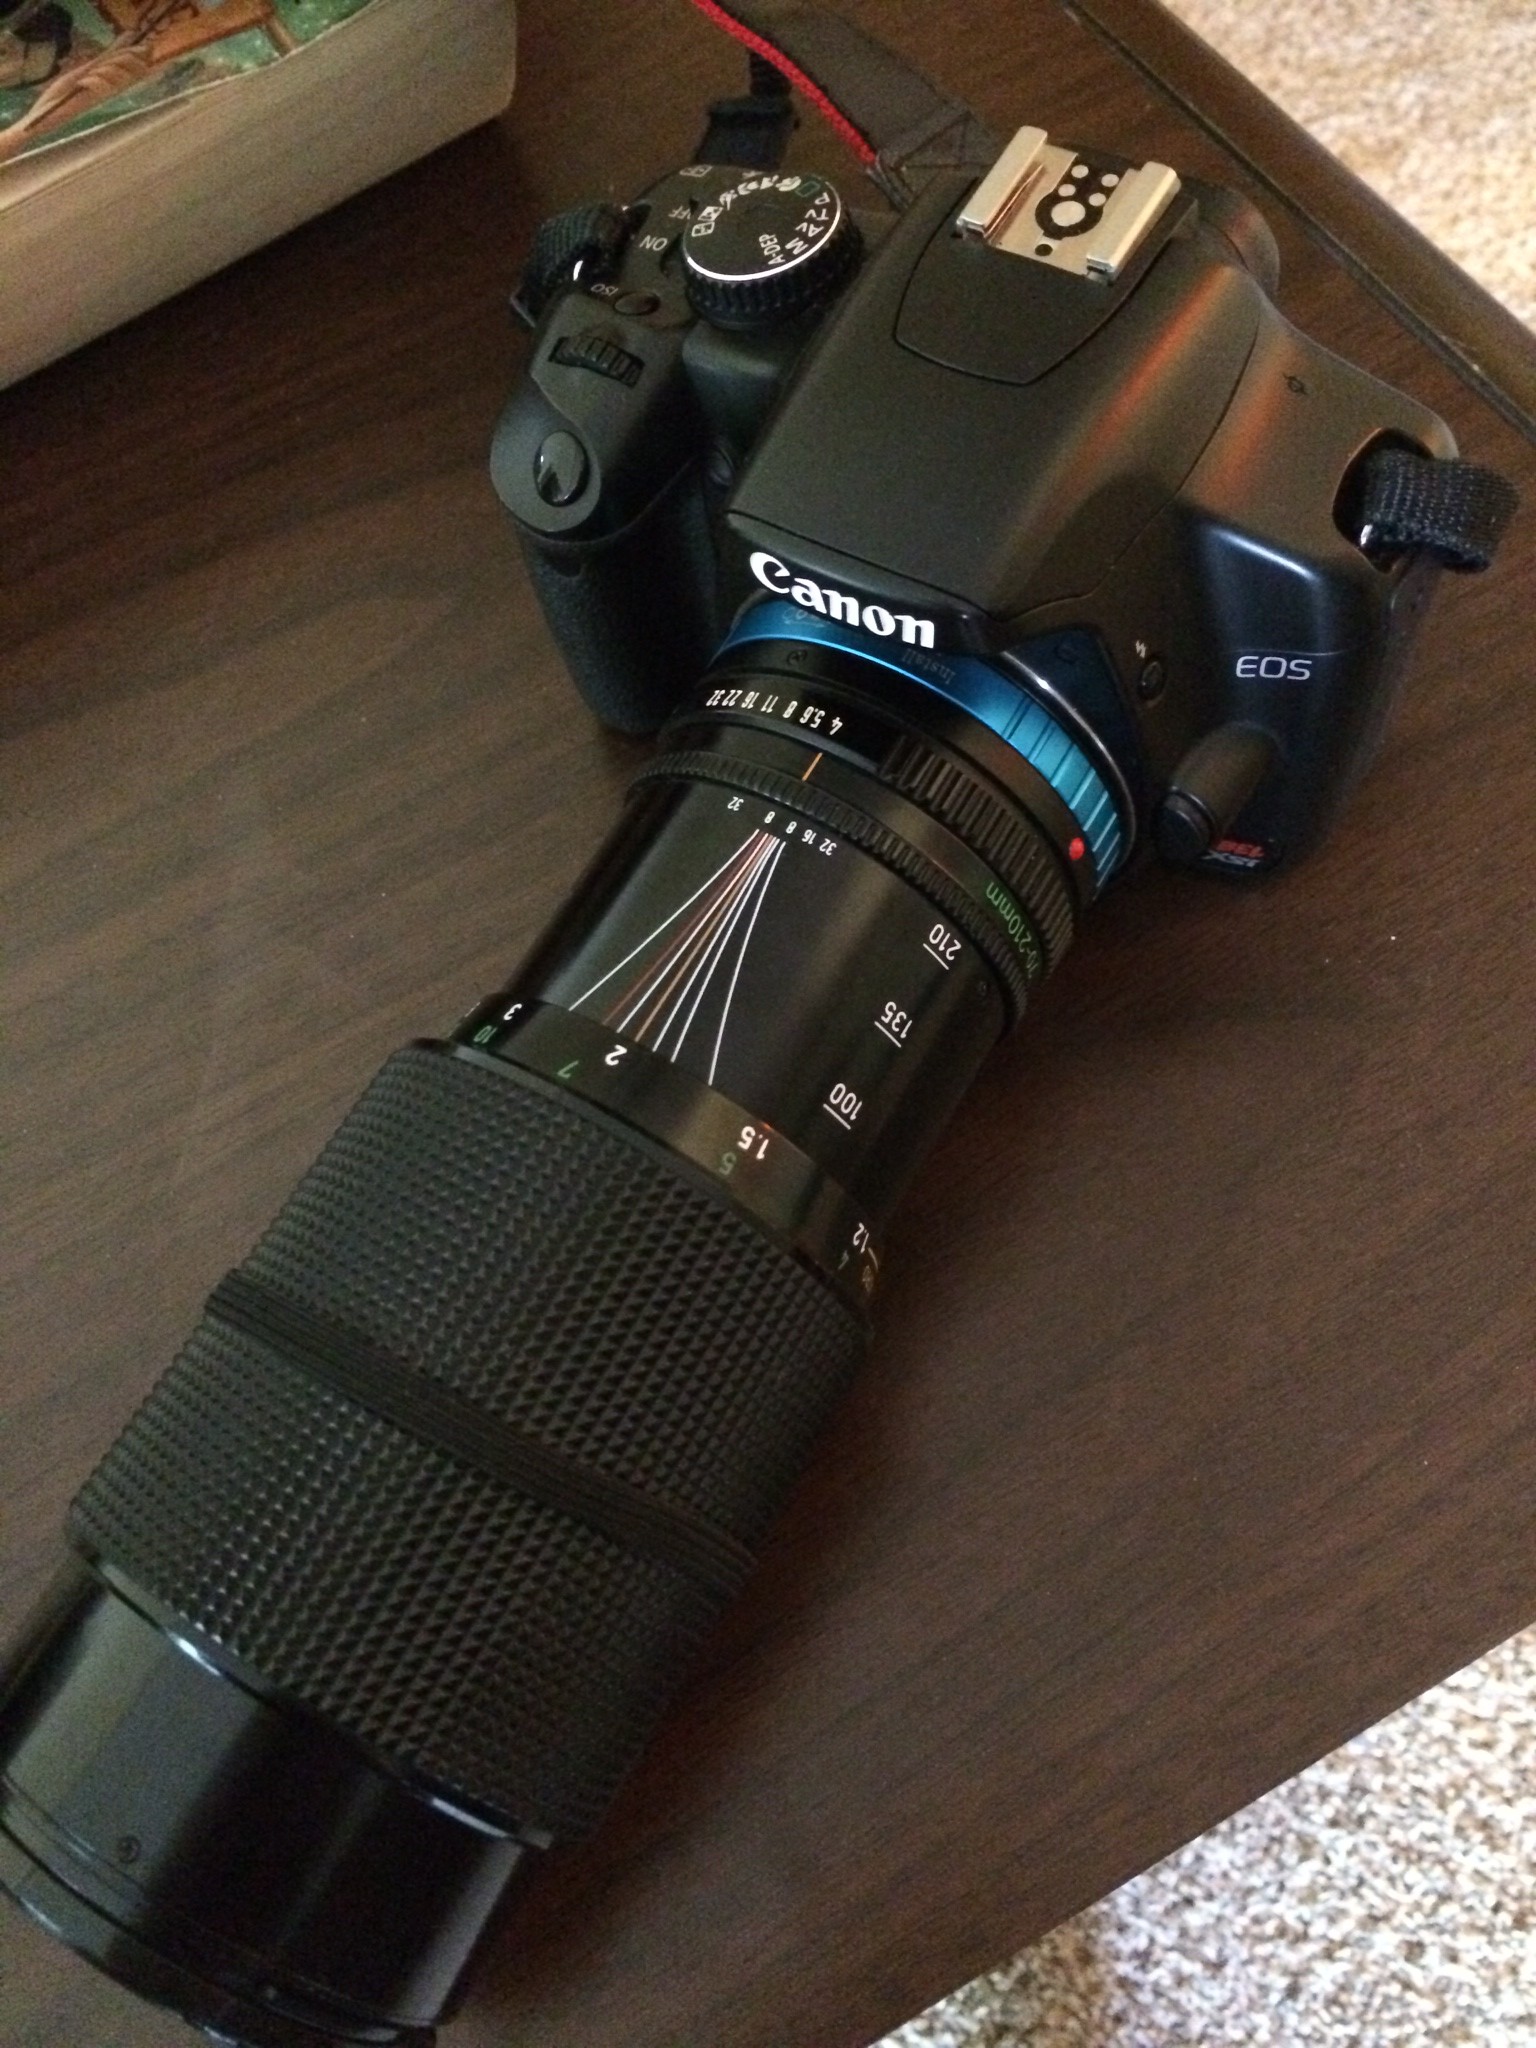
I’ve been playing around with some old lens and a Canon EOS camera the past few days. There are a ton of adapter on the market so you can mix and match cameras with different lens. The adapter I’m trying out is the Fotodiox FD-EOS adapter. In the photo you can see it mounted between the camera and an old Canon 70-210mm Zoom lens. The adapter forces the camera into manual mode for your aperture and focus. Which is fine, because these older lens didn’t have autofocus servos anyway. I do enjoy shooting full manual, and this lens is fun to shoot with.
The adapter seems to shorten the focal depth, making it very shallow. Which is fine as long as your subject is standing still. Molly wasn’t standing very still, most of the time, but I still managed to get some good shots.
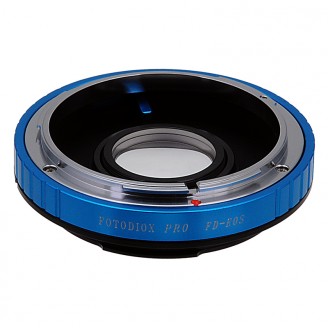
Fotodiox FD to EOS Adapter
I shot these in Aperture Priority (AV) mode.  Even though the camera doesn’t know what settings are on the lens aperture, it still auto meters and sets the shutter speed for you. I have Canon 50mm FD lens, that I haven’t been able to get to work yet. It looks focuses in the viewfinder, but the actual photo is out of focus. I may purchase a different brand of adapter and see if it does the same thing. But for the zoom lens, it seems to work well. And $40 is much cheaper an a new lens would cost!
UPDATE: The 50mm lens is behaving finally. I realized I had the adapter in install mode instead of aperture mode. With the adapter in aperture mode, I was able to get some good shots. The lens aperture setting was f/5.6, with a shutter speed of 1/250. I had to use the camera in manual mode, as opposed to AV mode, to get the shutter speed high enough to not have any blur (I was shooting freehand). With some more experience with this adapter, I think I can get some really nice photos.
Via Flickr– Expedition 31 Flight Engineer Don Pettit relayed some information about photographic techniques used to achieve the images: “My star trail images are made by taking a time exposure of about 10 to 15 minutes. However, with modern digital cameras, 30 seconds is about the longest exposure possible, due to electronic detector noise effectively snowing out the image. To achieve the longer exposures I do what many amateur astronomers do. I take multiple 30-second exposures, then ‘stack’ them using imaging software, thus producing the longer exposure.â€
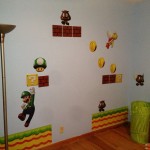
This year Parker got a room makeover for his birthday. Painted, replaced closet doors and put in a closet system. Also, got these awesome Mario decals. Sweet!! Still have a few things left to do. And he has a desk and chair ordered. I think I might move in to his room.